A fairly simple installation of flexible tiles is rightfully considered one of the obvious advantages of this material: elastic panels are easily fixed on the crate, forming a dense coating that is impervious to moisture. Naturally, such a result can only be achieved if all the installation rules are observed, so if you plan to do roofing work on your own, carefully re-read the article I proposed.
The structure and advantages of shingles
Flexible shingles are a relatively inexpensive, lightweight and flexible material that is used in roofing work, mainly in private construction.
The structure of this material ensures high resistance of the roof to moisture and other factors:
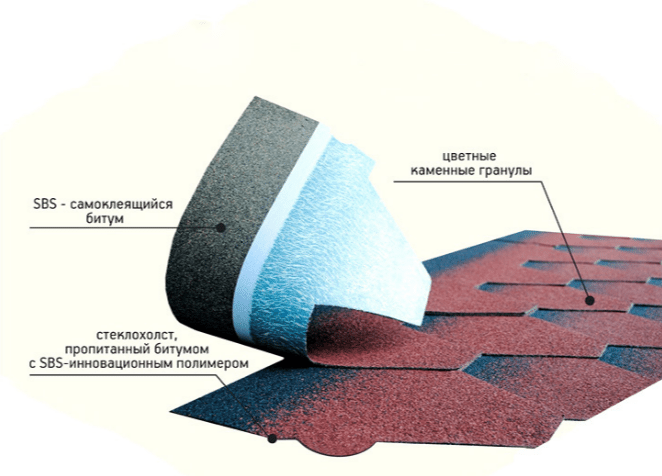
- The basis of the tile is a cloth made of fiberglass or polyester. The better (and more expensive!) the material, the more durable the base will be, and the higher the mechanical resistance of the tile will be. It is very important that the products resist tearing forces well - this significantly increases their service life.
- The fabric base of the tiled plates is impregnated with a modified bitumen. This component is responsible for providing moisture resistance, in addition, as a result of modification, bitumen loses its fluidity at high temperatures. Also, the use of modified impregnation gives the roof a significant fire resistance.
- Fine-grained stone chips are applied over the bituminous layer. In addition to aesthetic functions, mineral granules also provide additional mechanical strength.
Despite the rather simple structure, this type of tile has a number of obvious advantages:
- Relatively light weight (from 8 to 12 kg/m2), which allows you to mount the roofing material on a light truss system, thereby reducing the load on the base and load-bearing structures of the building.
- Good resistance to temperature changes, heat, freezing and other adverse factors.
- Virtually unchanged color even with prolonged exposure to UV radiation.
- Good moisture resistance.
In addition, as I have already noted, the pluses include a moderate price (from 200 rubles per square you can find budget coverage, for 300 - 350 middle-class material is already selected without any problems) and fairly simple installation.
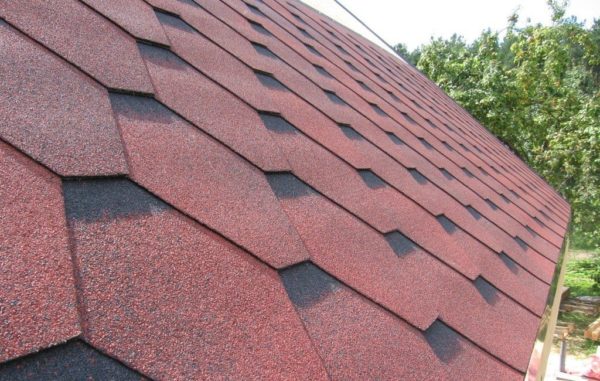
It is on the last aspect - the technology of laying flexible tiles - that I will dwell in more detail.
Preparation for work
Materials and tools
Laying flexible tiles on the roof involves the use of a whole list of materials.
To do this job, I usually buy:
- Lathing material - OSB boards, moisture resistant plywood or boards.
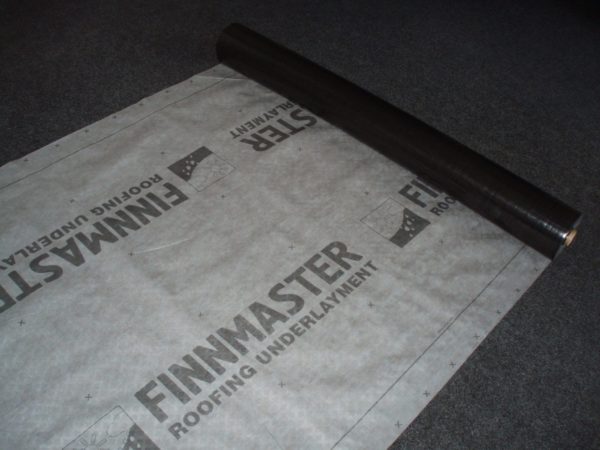
- Lining bituminous material.
- Lining tapes for valleys - with their help, the joints of planes, as well as the junction of ventilation pipes, chimneys, etc., are protected from leakage.
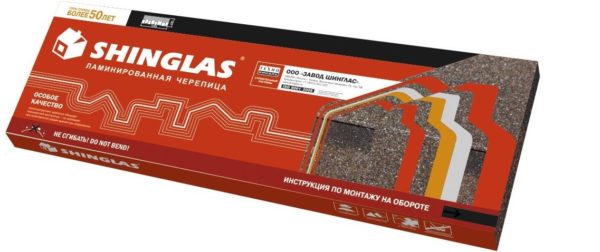
- The sheets of shingles themselves in the package (strips of material are called shingles).
- End and cornice strips for flexible tiles.
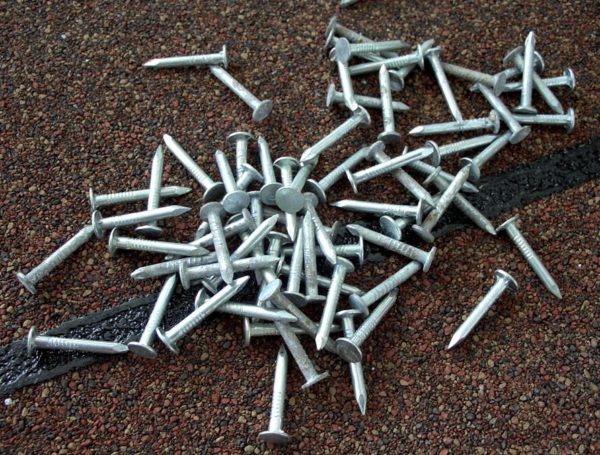
- Mechanical fasteners - galvanized screws, nails or staples for a construction stapler.
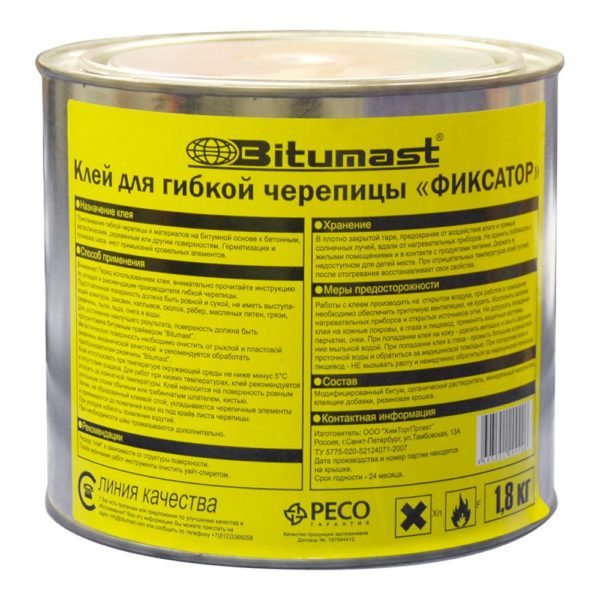
- Bituminous adhesive for fixing shingles and backing material to the subfloor.
As for tools, the set should include the following items:
- saw on wood for fitting the details of the crate;
- screwdriver;
- drill;
- hammer;
- level;
- roulette;
- marker;
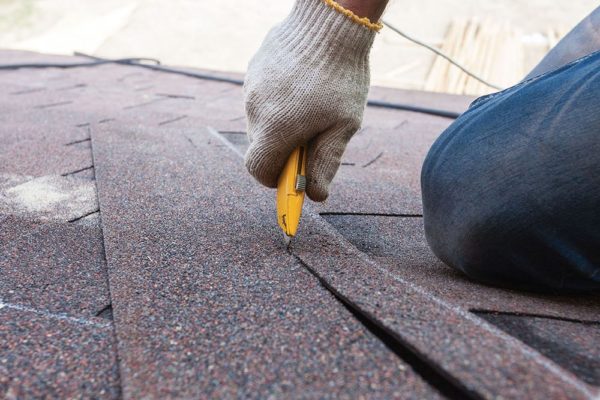
- knife for cutting tiles;

- construction stapler;
- putty knife.
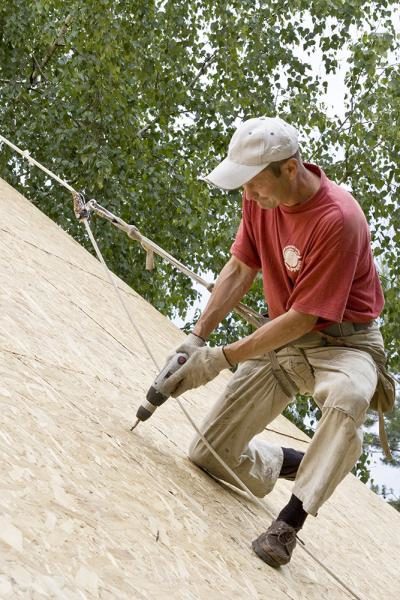
Do not forget that the installation of soft tiles on the roof refers to high-altitude work, which means it is associated with an increased risk to life. Therefore, you need to work with insurance (mounting belt + cable), and keep the tools in a special harness. It would also not be superfluous to fence off the area near the house - in order to avoid injury to the household by falling tools, scraps of material, etc..
roof lathing
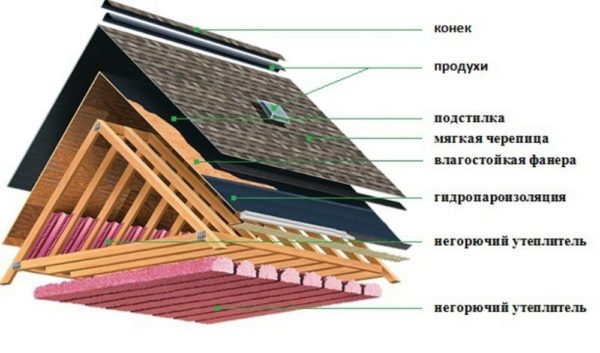
Instructions for laying shingles begin with a description of the process of preparing the base.
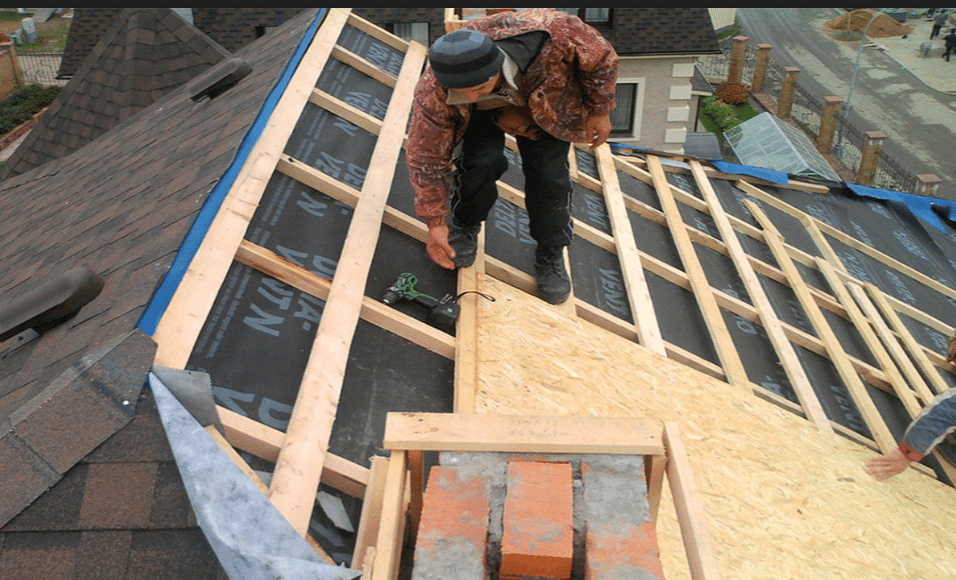
This material is best laid on a continuous crate, which is built from:
- edged board (planed, and best of all - tongue-and-groove);
- moisture resistant plywood;
- oriented strand board (OSB).
It is important that the moisture content of the material used for the crate is not more than 20%.
To select material for strength, it is worth using a table that demonstrates the relationship between the pitch of the rafters and the thickness of the crate:
| Rafter step, mm | Plywood thickness, mm | Board thickness, mm |
| 1200 | 20 — 25 | 30 |
| 900 | 18 — 20 | 22 — 25 |
| 600 | 12 — 15 | 20 |
The elements of the crate are attached to the rafters with nails or self-tapping screws.
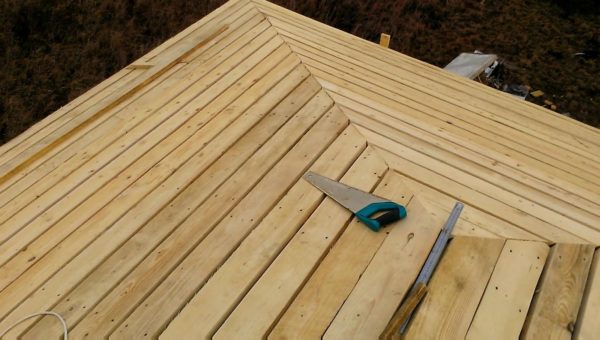
When installing the base, it is worth laying all wooden parts with a gap of at least 5 mm - this distance will compensate for the expansion of wood with changes in humidity and temperature changes, preventing deformation of the crate.
Lining layer and additional elements
The lining layer performs the most important function: it prevents the roof from leaking if moisture still seeps through the shingles themselves.
For the arrangement of the lining layer, either bituminous materials (the same roofing material and its analogues) or special roofing membranes are used.
- If the roof slope is equal to or greater than 1:3 (i.e. 18 degrees or more), then waterproofing materials are placed along the edges of the roof along the ends and eaves, since this is where the most likely leaks are located.
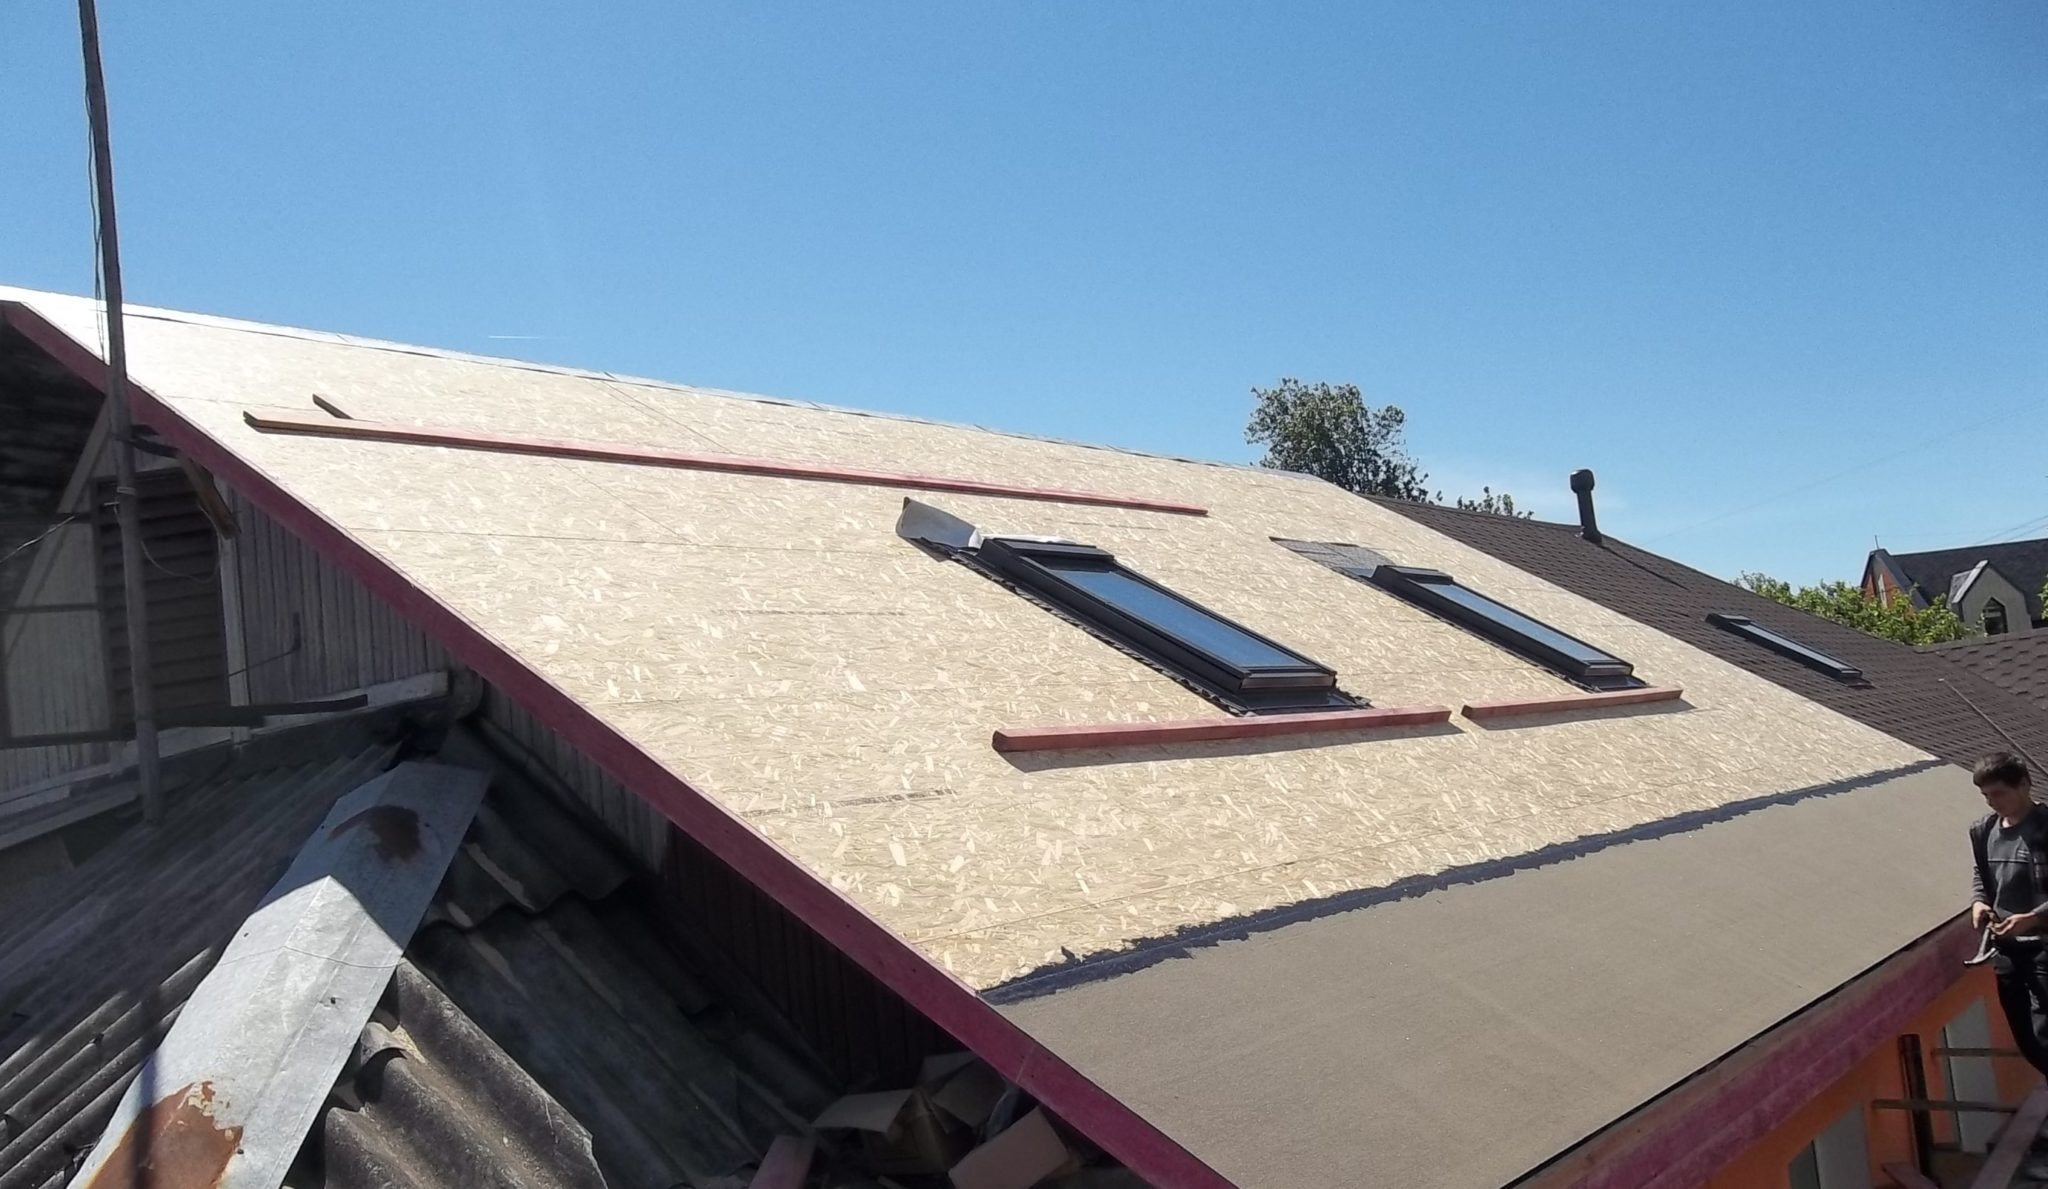
- In this case, sheets of waterproofing material with a width of 40 - 50 cm are laid along the cornice edge and along the end edges. Also, 25 cm of waterproofing should be on each side of the roof ridge.
- In the valleys - the internal joints of the roof planes of complex shape - we must lay the valley carpet. Instead of a special material, a moisture barrier cut into strips or a bituminous coating can be laid here.
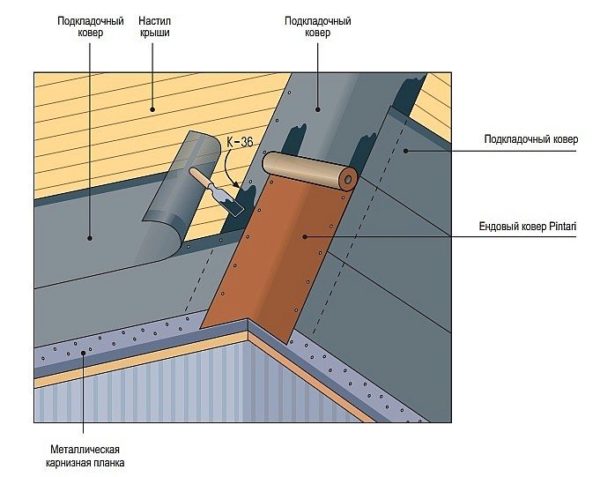
We surround the exits of ventilation pipes, chimneys, etc. with the same stripes. - here it is very important to lay the lining without gaps, because otherwise leakage will be inevitable. From above, the junctions can be covered with special metal caps, which are installed after the installation of ordinary tiles is completed.
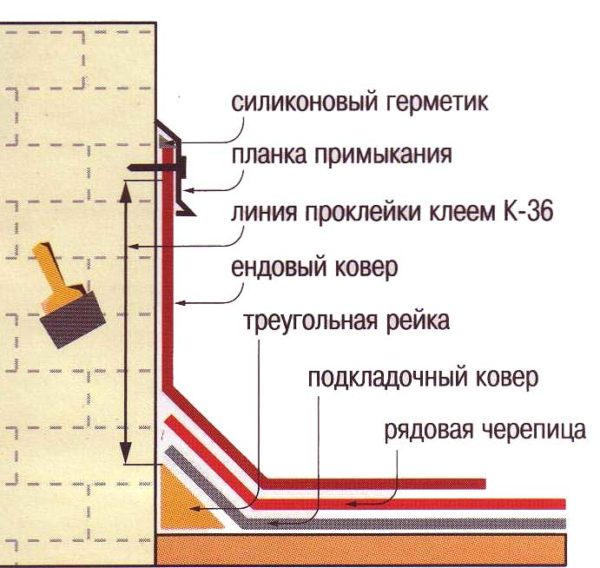
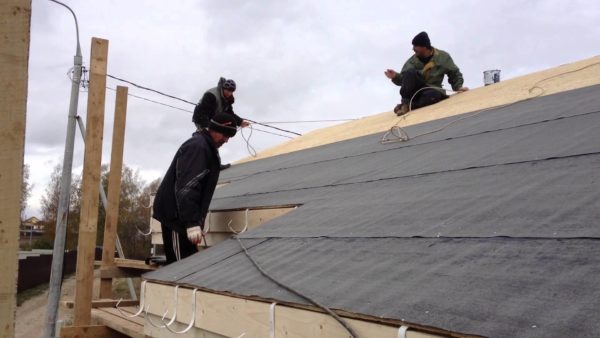
- With a smaller roof slope, the lining material is located along the entire plane of the slopes. This allows you to reduce the likelihood of leaks occurring due to insufficiently rapid flow of water along a sloping roof.We roll out a solid lining in horizontal rolls, from the bottom up, with an overlap of at least 10 cm.
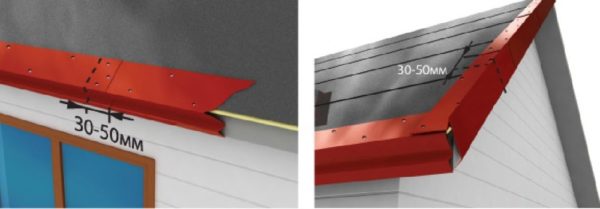
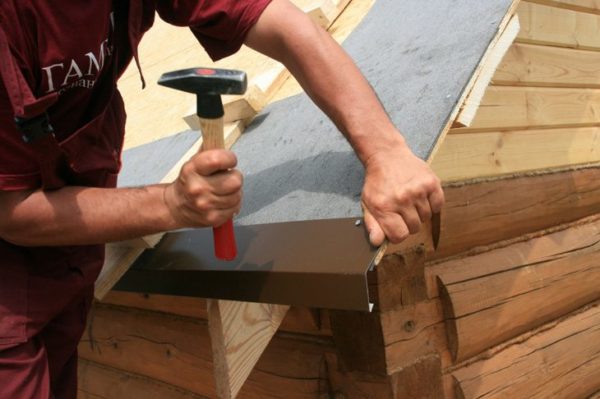
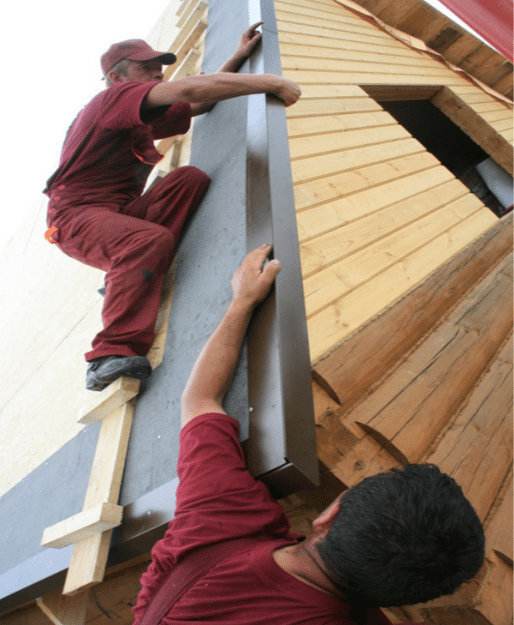
- On top of the lining layer at the end, an end strip for flexible tiles is installed, and on the cornice part, respectively, a cornice strip. Metal parts are fastened with galvanized roofing nails with a pitch of 10 - 12 cm. We hammer nails in a zigzag manner, and at the junction we make an overlap of at least 30 mm.
Thus, we are approaching the completion of the preparatory work. They must be carried out with the utmost quality, since the tightness of the roof largely depends on the lining layer: no matter how high-quality the flexible bituminous tile is and no matter how correctly we lay it, some moisture will still seep inside.
Laying technology
Installation conditions
Before describing the method of laying a flexible bituminous coating, I would like to dwell on some of the nuances that accompany this process:
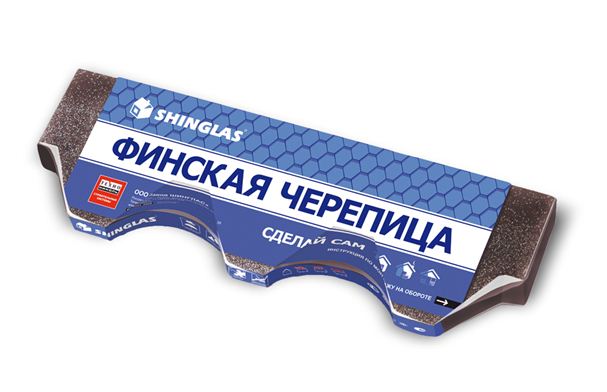
- It is advisable to store packages with flexible tiles indoors, protected from direct sunlight. Low temperatures are not terrible for most materials, but it is best to protect the roofing from sudden changes.
- Installation of the coating is best done at temperatures from +5 to +25 degrees Celsius. Before installation, it is advisable to open the package in advance so that the tile acquires the ambient temperature - this way it will be much less deformed.
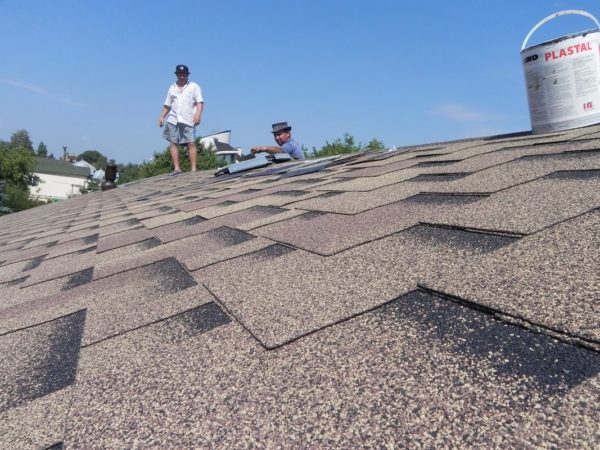
- Laying this type of roofing in the cold season is also allowed, but before starting installation, opened packages with tiles must stay in a heated room for at least a day. In order to avoid cracking, it is also desirable to equip a “greenhouse” - a frame structure with a polyethylene coating over the roof area where work is being done.
- Finally, directly during the laying process, the shingles must be heated with a building hair dryer - this way we will reduce the fragility of the material in the cold and contribute to the rapid polymerization of the adhesive base.

- Do not use a propane torch instead of a hair dryer - this can lead to irreversible damage to material that is not designed to come into contact with an open flame.
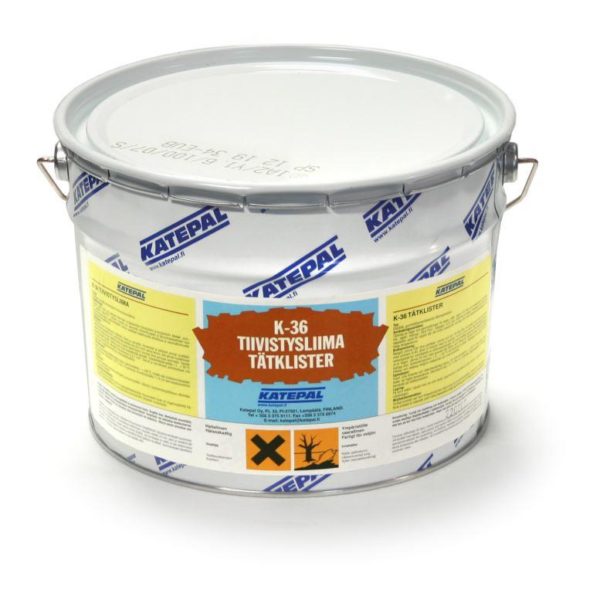
- If the installation is carried out in cold weather or in strong winds, then the use of adhesives may be required to additionally fix the shingles. In this case, I prefer Katepal K-36 bituminous mixture, which provides optimal adhesion.
- When installing in the warm season, work is best done in the morning and evening hours. In order not to damage the coating softened in the heat, it is advisable to use ladders, platforms and other devices to evenly distribute the load to move along the roof.
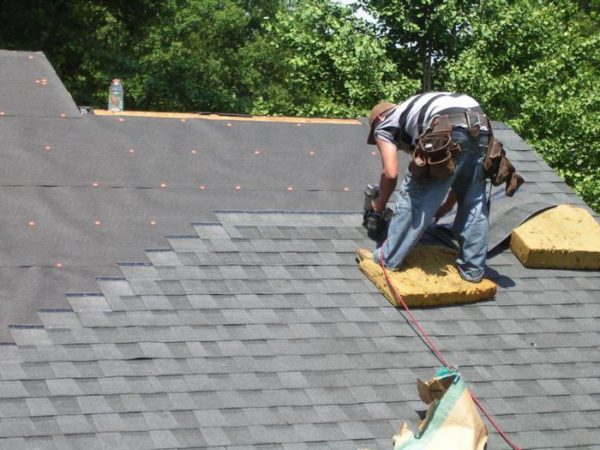
Installation of tiles
We begin the work with laying the so-called cornice tiles:
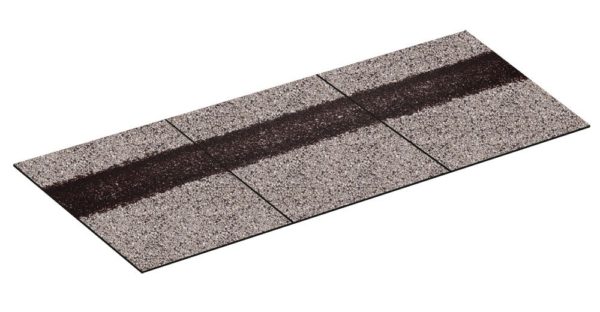
- We remove the protective film from narrow strips of material, lay them on top of the cornice strips and fasten them with nails in 20 mm increments.We hammer nails at a distance of about 25 - 30 mm from the edge. We lay the cornice tiles end-to-end, coat the gaps between the individual strips with bitumen-based mastic.
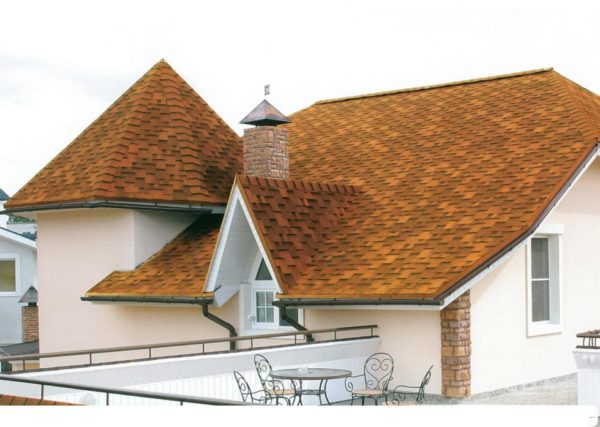
- After that, we select ordinary tiles by shades. In one batch, the color of the elements may differ slightly, which, on the one hand, forces us to spend time sorting, but on the other hand, allows us to give the roof a more effective appearance due to visual depth. This is especially true for tiles with a gradient color.
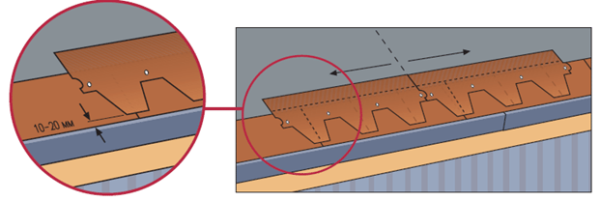
- We mount ordinary tiles from the lower edge of the slope, starting from its center line. We remove the protective film from the shingles of the first row and prick them with the adhesive side down so that the lower edges are at a distance of about 10 mm from the edge of the cornice tiles, and the petals overlap the joints.
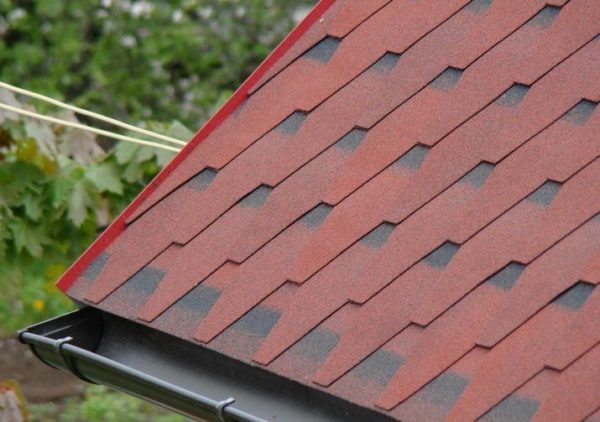
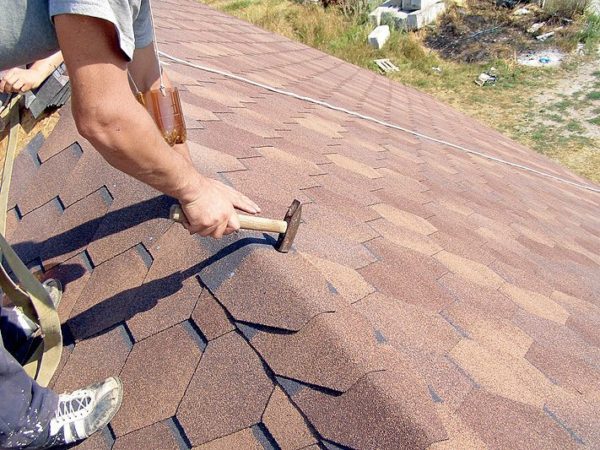
- We fasten each shingle with 4 - 6 nails. We drive in the nails immediately above the depressions in such a way that their caps are covered with the protrusions of the next row of flexible tiles.
- The second row of sheets is laid on top of the first with offset joints. When positioning, we make sure that the protrusions (petals) of the upper row are exactly at the level of the hollows of the already laid shingles of the lower row.
This arrangement of the roof elements ensures its most reliable fixation. Each sheet is nailed at least twice: first when laying it, and then when laying the sheet lying on top.
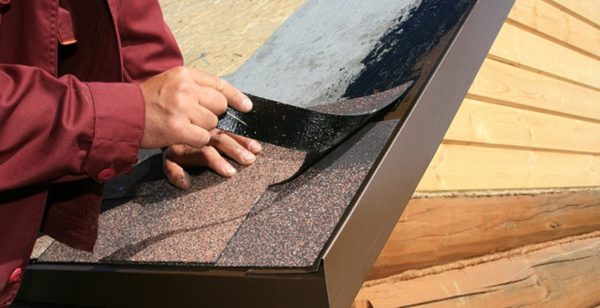
- At the junction with the gables, we cut the shingles end-to-end, and their edges must be glued to the base with a waterproofing coating.If this is not done, then air currents will tear off the tiles, and sooner or later water will begin to flow into the gap formed. In the same way, the edges of the sheets are glued in the valleys.
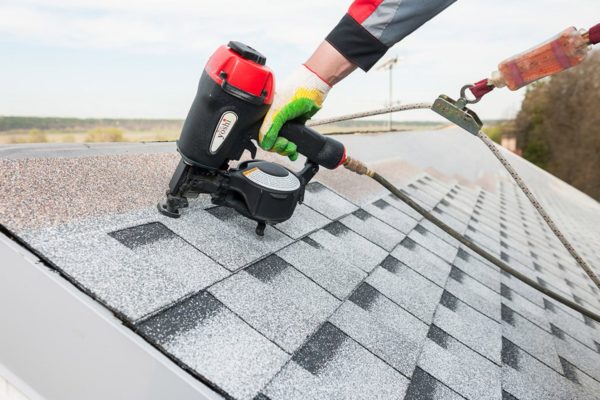
- The installation is completed by laying the ridge layer: it must cover the roof ridge and be fixed on both sides.
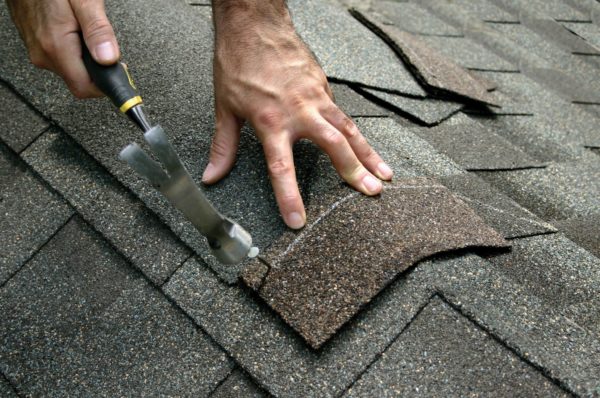
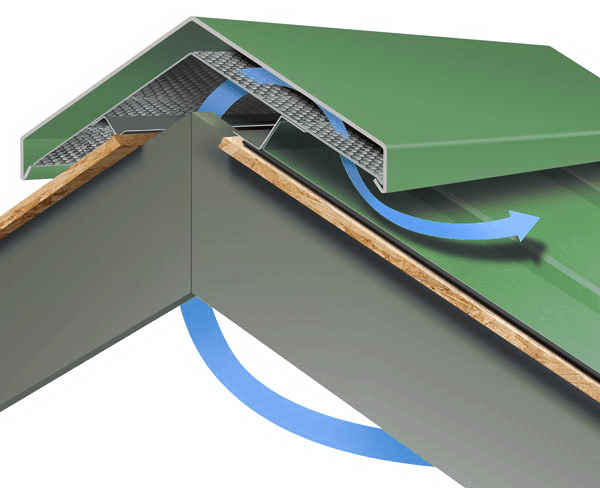
Final step - installation skate. You can mount the simplest metal bar, or you can fix a ventilated plastic ridge in the upper part of the roof. It costs a lot, but its installation largely solves the problem of air exchange in the under-roof space.
Conclusion
Installation of flexible tiles is quite simple, but you need to work carefully, taking into account many nuances. However, anyone who has at least minimal skill can successfully cope with such a task - for this, it is enough to carefully study the recommendations given here, watch the video in this article, and also consult on all complex issues either in the comments below or on the forum.
Did the article help you?
