How to insulate the roof in the house without the involvement of specialists? I have already done such work and I am ready to talk about all the technical aspects of thermal insulation, and also describe two ways to carry out work - on a pitched and flat roof.
Pitched roof insulation
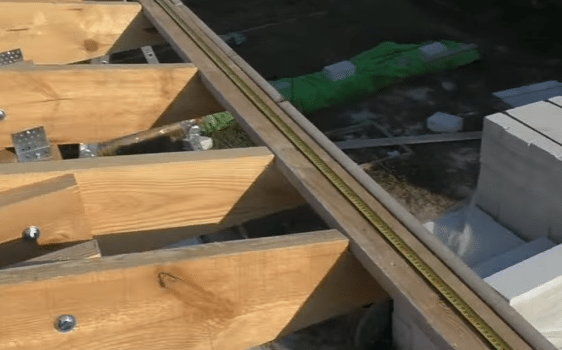
This is the main design option in private buildings.The rafter system is constructed from a wooden beam, the cavities between which we will fill with a heat insulator.
materials and tool
To insulate a pitched roof, the following materials are needed:
| Illustration | Material Description |
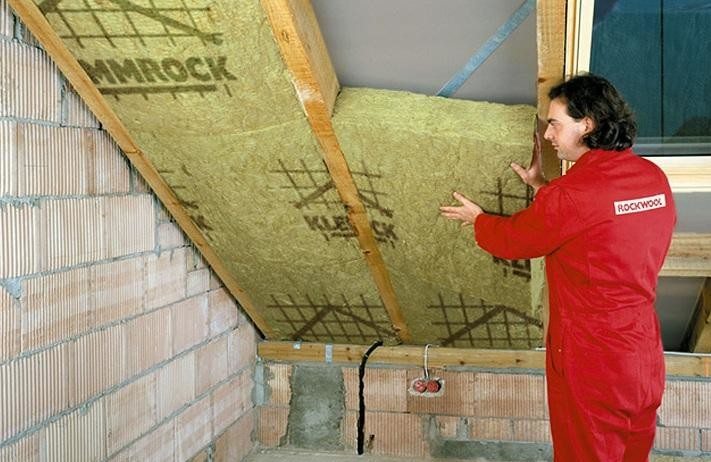
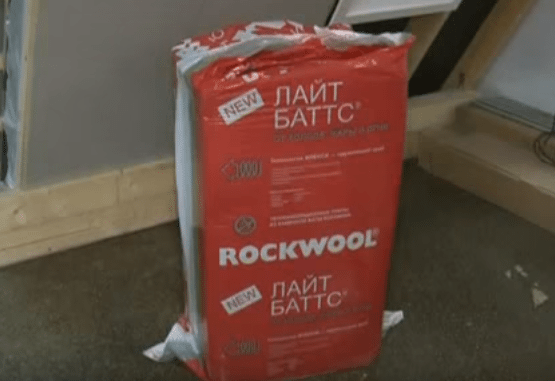 | Mineral wool. Insulation of the rafter system is best done using mineral wool boards. They are easy to use and provide a high level of heat and sound insulation. The minimum layer of mineral wool for the middle strip is 10 cm, but I recommend laying at least 15 cm. |
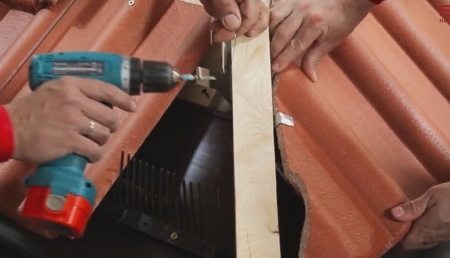
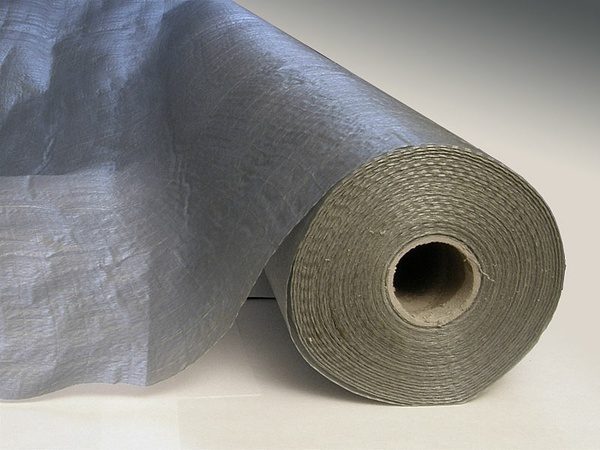 | waterproofing film. Thermal insulation and waterproofing are closely related to each other. The insulation must be protected from moisture, so if a film is not laid under the roofing material, it must be fixed from the inside. If the membrane is already on the outside, then on the inside it is not needed. |
 | Vapor barrier membrane. It is fixed from the inside of the room and protects the insulation from moisture from attic. It must always be fixed. |
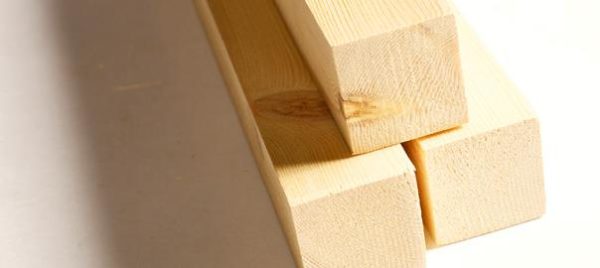 | wooden block. It is used for mounting the counter-lattice and creating a ventilation gap between the vapor barrier and the finish. The recommended thickness of the elements is at least 30 mm. |
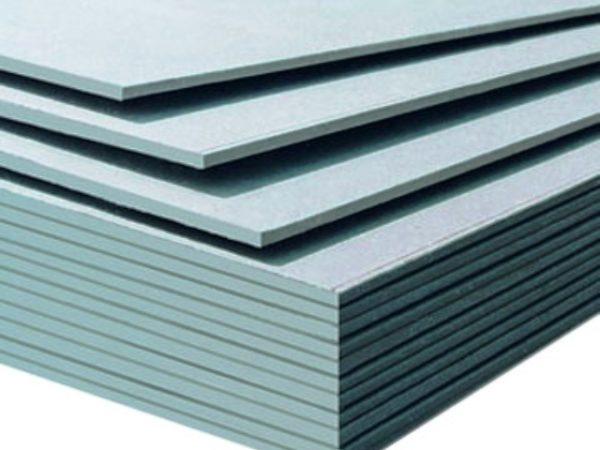 | Drywall. With its help, it is easiest to sheathe surfaces and finish them. Instead of this option, you can use lining or other finishing elements. |
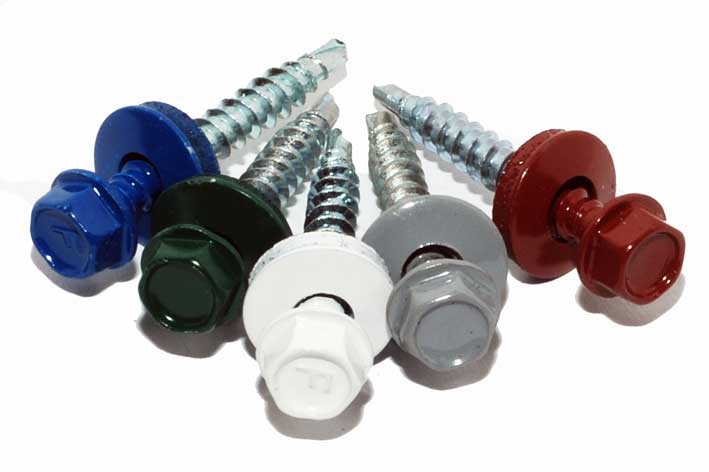
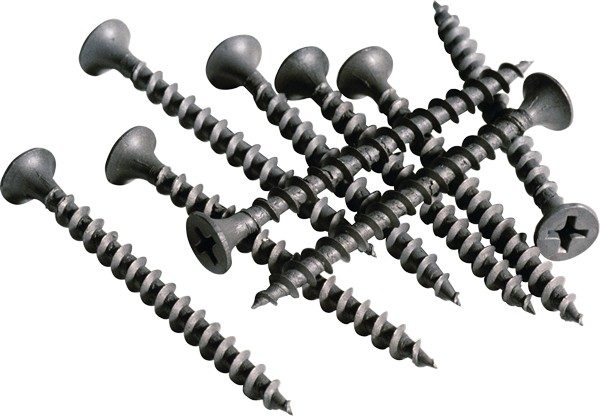 | Fasteners. For drywall, self-tapping screws 32 mm long are used. Fasteners are used for the counter-lattice, the length of which is twice the thickness of the bar. |
Tool for work:
- Mineral wool knife. There are special devices for cutting heat-insulating materials. They provide high speed and good cutting quality;

- Tape measure, pencil and building level;
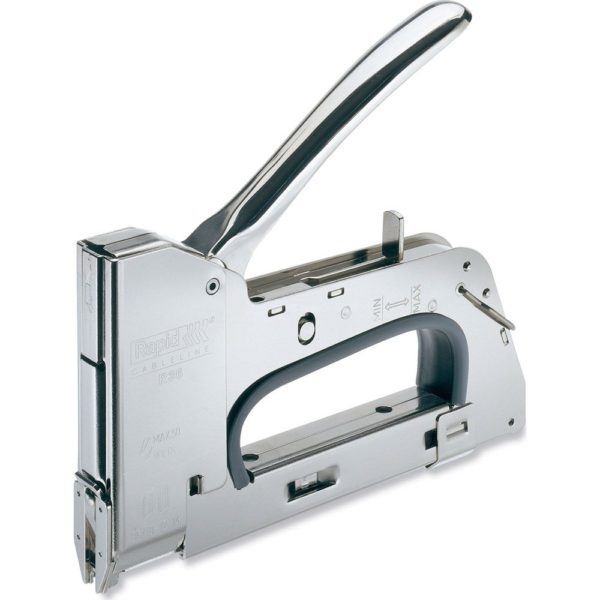
- Construction stapler. With it, the fastening of insulating materials takes a matter of minutes. The kit should include staples 6-8 mm long;
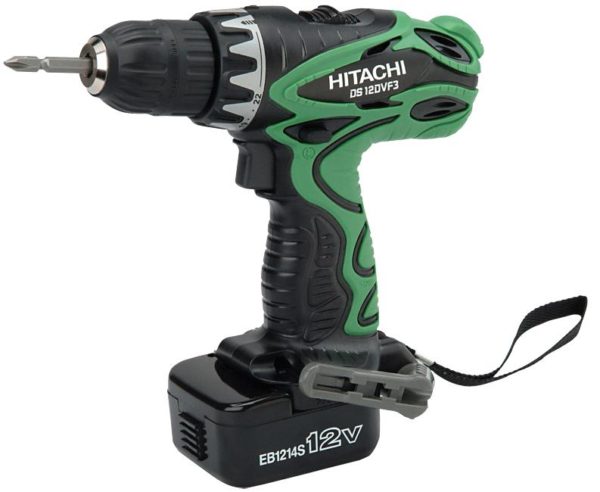
- screwdriver. It is necessary for fastening the counter-lattice and mounting the finishing material. The kit should include nozzles that match the configuration of the self-tapping screws you are using.
If you will fasten the bar with nails, then you will additionally need a hammer.
Warming process
The scheme of roof insulation along the rafters is shown below, and we will work on it.
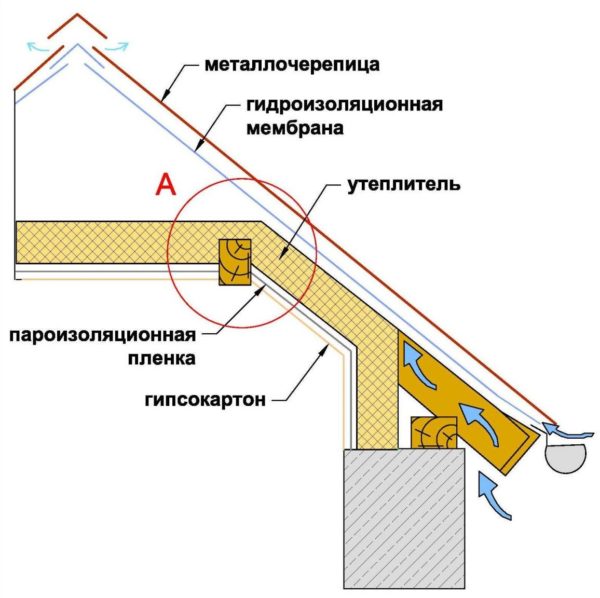
Roof insulation technology is as follows:
| Illustration | Stage description |
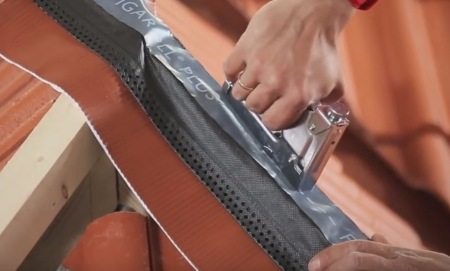
 | Attached waterproofing. This stage is carried out if the film is not laid under the roof. The material is carefully straightened and fixed to the side surfaces of the rafters with a stapler. At the joints, overlaps of 100 mm are made to ensure reliable protection of the joints. |
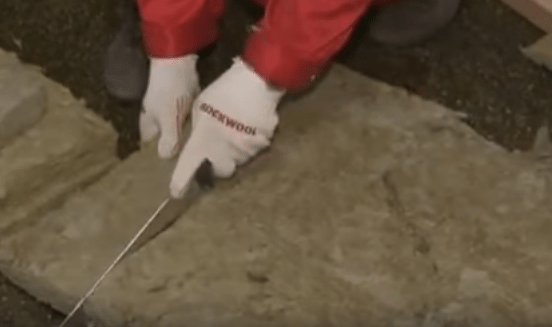 | Insulation is cut. First, the distance between the rafters is measured.
Then sheets of mineral wool are marked, make them 20 mm wider so that the elements fit snugly into the cavities and hold even without additional fastening. |
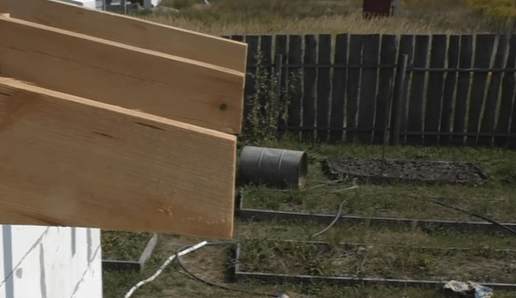 | Mineral wool is laid in the structure. Roofs are insulated from the bottom up. Each sheet is tightly located in the structure.
Pay special attention to the joints between the pieces of insulation, there should not be gaps. |
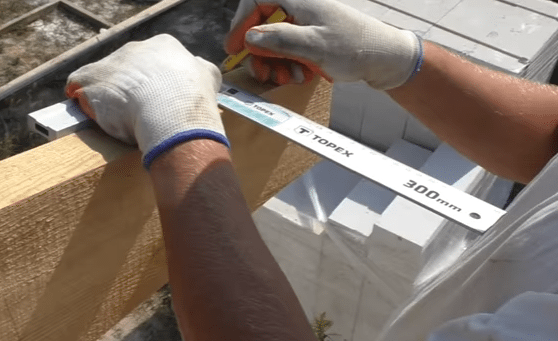 | If necessary, a second layer of insulation is laid. The process is the same as in the paragraph above.
The only requirement is that the joints between the sheets should not match, move them as shown in the photo. |
 | The vapor barrier is fixed. The material is located on top of the mineral wool and fixed to the rafters with a stapler. No need to pull too hard membrane, it can sag by 5-10 mm.
The junction of the roof to the wall deserves special attention, try to close it securely so that moisture and cold do not penetrate through the connection. |
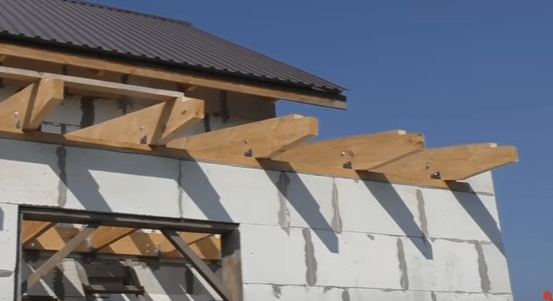 | The bar is fixed. The elements are simply screwed along the rafters with self-tapping screws. Fastener spacing - no more than 30 cm. |
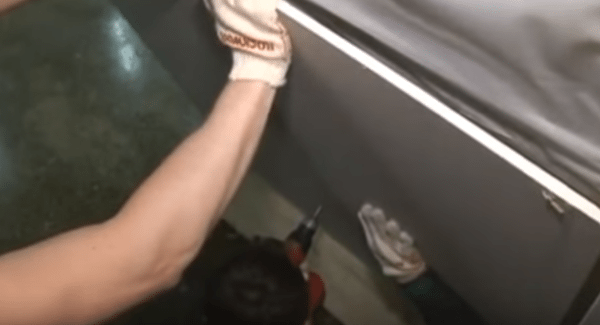 | Fastened drywall. It is better to work with an assistant so that he holds the elements when they are fixed.
Self-tapping screws are located in increments of 150 mm, at least 10 mm from the edge, so as not to damage the material. After sheathing, an almost finished living space is obtained, it remains to putty the walls and paint them or wallpaper them. |
flat roof insulation
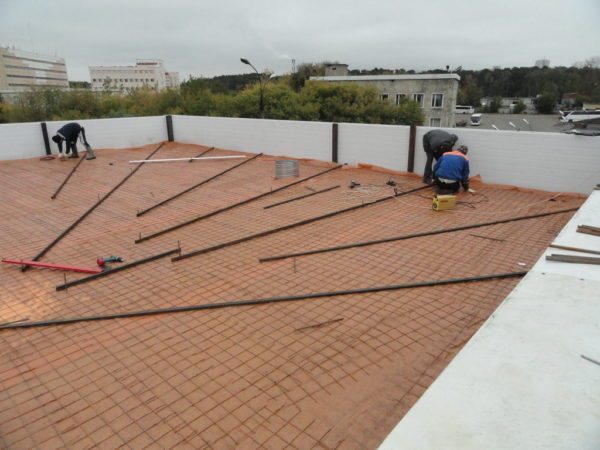
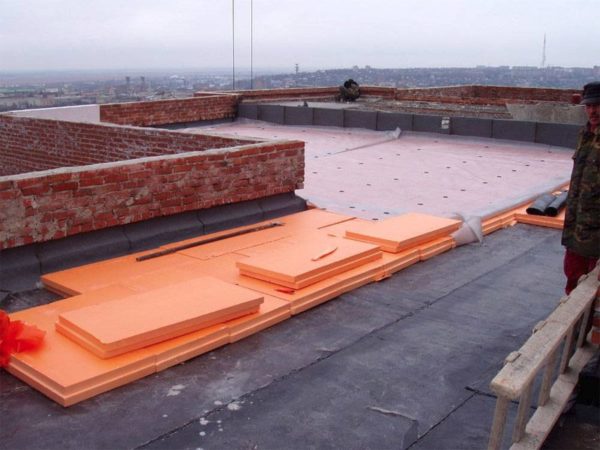
If the slope of the roof is less than 12 degrees, then it is considered flat. The structure is insulated from the outside, the following materials are needed for work:
Tool:
- Drill with mixer. The power tool must have a power of 1 kW or more, since the solution is heavy. Also, you should have a capacity of 50 liters or more, it will take a very, very long time to interfere in buckets of 10 liters.

If the volume of work is large, then it is better to use a concrete mixer. You can rent equipment for 1-2 days.
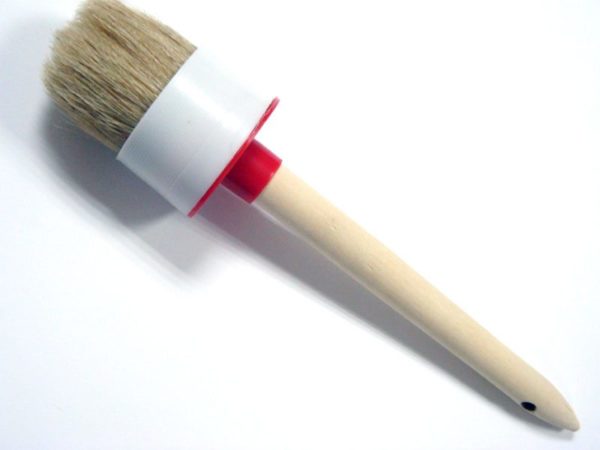
- Round brush. Diameter 50 mm or more. It is with such a brush that it is most convenient to apply mastic on extruded polystyrene foam;
- Level and rule. Without these devices, it is impossible to make an even screed.
Do-it-yourself instructions:
Conclusion
I am sure that after reading the review, you will be able to insulate the roof on your own. The video in this article will help you understand the topic even better. If you have any questions - ask in the comments.
Did the article help you?

