
Do you want to lay a roof from corrugated board, but do not know how to properly organize the workflow? I will share my work experience. Following my recommendations, you will make a reliable roof with your own hands and at the same time save on paying for the services of specialists.

Stages of work
For simplicity, the process will be divided into several stages:
- Purchase of materials and tools;
- Drip mount;
- waterproofing flooring;
- Laying battens and counter battens;
- Profiled sheet installation.
Materials and tools
From the materials you need the following:
| Illustration | Material Description |
 | Decking. The roofing material is selected according to the height of the wave, it should be from 8 to 30 mm, this is the best option for the roof. Sheets of corrugated board are painted in different colors, a special polymer coating protects the material from corrosion. The cost of a profiled sheet is from 200 to 300 rubles per square meter, cheaper products are of poor quality. |
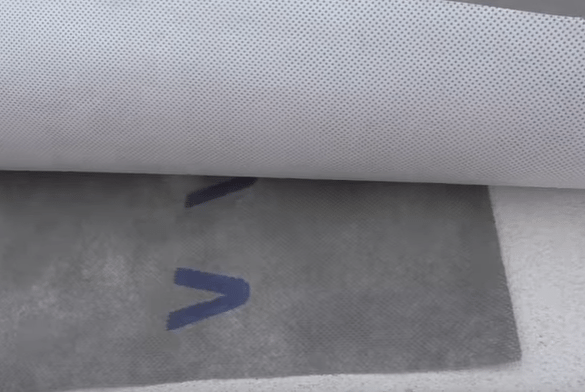
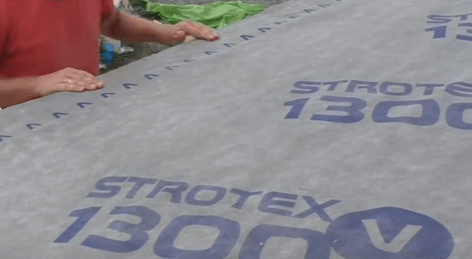
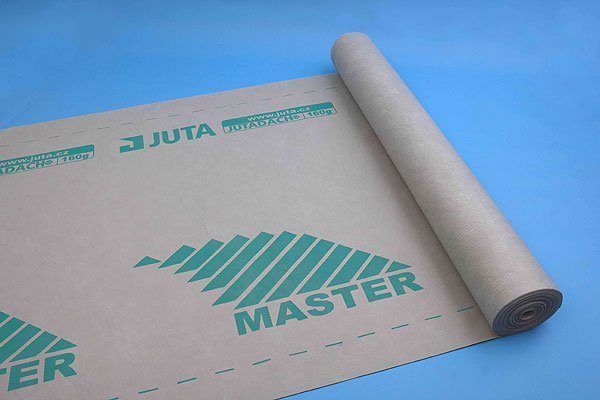 | roofing membrane. It is needed to create an additional waterproofing layer that does not let water through from the outside, but releases evaporation from the inside.
When purchasing material, take into account the overlaps at the joints, they must be at least 100 mm, and on small slopes - 200 mm or more. |
 | dropper. It is laid along the edge of the overhang and protects the ends of the rafters from moisture. The elements are made of polymer-coated sheet metal and must have the same color, which is corrugated board. |
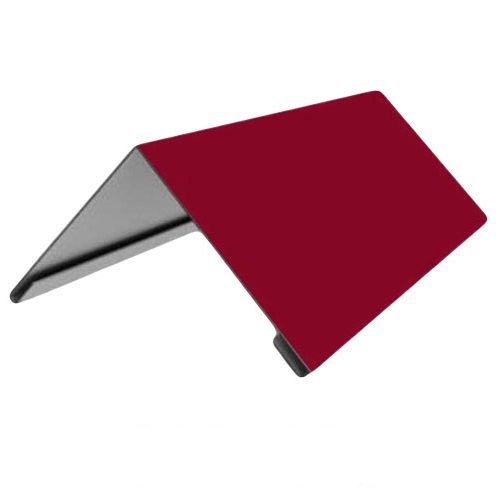 | Ridge and wind bar. The skates are placed at the junction of the slopes, and the wind slats are located at the ends of the gable overhangs. They are sold ready-made, the main thing is to choose the right shade.
|
 | Edged board 25 mm. It is used for the device of a lathing for fastening of a professional flooring. Also, the material is used for filing eaves and gable overhangs. There are no special requirements for the material, the main thing is that the board is dry. |
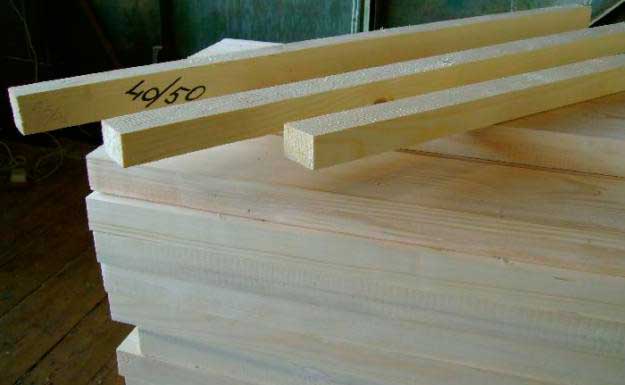 | Bar 40x50 mm. It is used for mounting the counter-lattice. Choose inexpensive options from conifers with a moisture content of no more than 15%. |
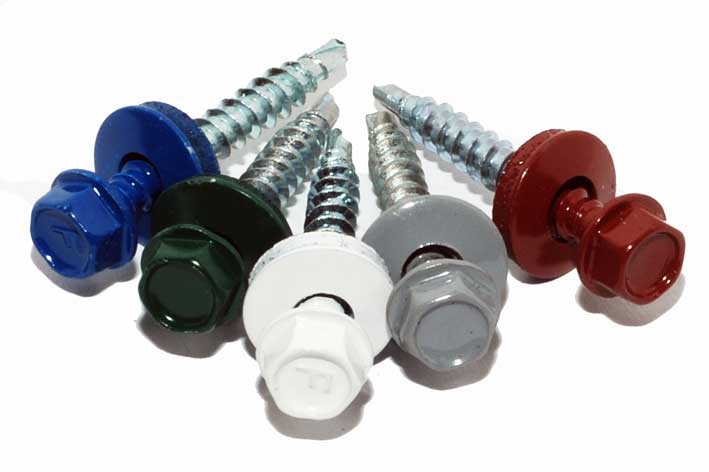 | fasteners. The corrugated board is fastened with special self-tapping screws, painted in the color of the material and having a special washer with a rubber gasket. In addition to roofing fasteners, self-tapping screws are needed for fastening the battens and counter battens, their length must be at least twice the thickness of the fixed element. Nails will also be used, the usual version 80-90 mm long and galvanized elements 25 mm long. |
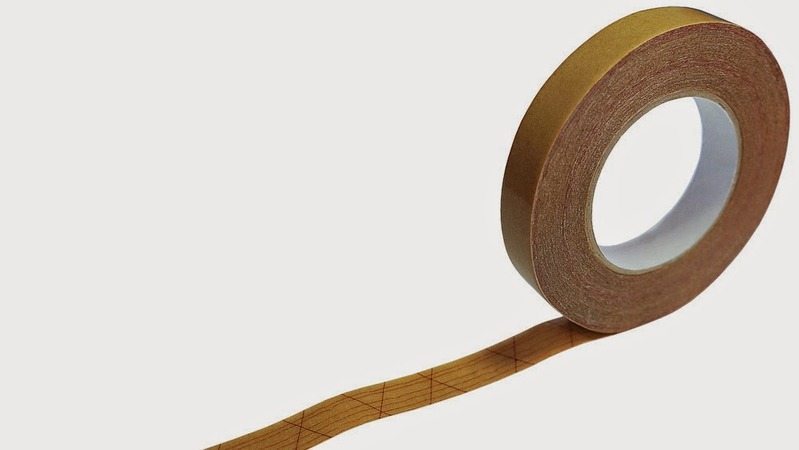 | Special tape for the membrane. To fasten the joined canvases together, a strong double-sided tape is used. |
The corrugated roof is made using the following tool:
- Hacksaw or circular saw. It is used for cutting a bar and a board. If you have a jigsaw at hand, then you can use it;

- screwdriver. Necessary for tightening screws. For standard fasteners, nozzles PH or PZ are needed, and for roofing elements, a special version of M8 is used. Be sure to purchase all required equipment;

- Hammer. For driving nails, the best option is a weight of 500-600 grams;
- Tape measure and pencil. To simplify measurements and mark ideal angles, I advise you to additionally purchase a construction square;

- Level or rail. It is used for marking overhangs when cutting them along the desired line.
- Construction stapler. Needed for quick and high-quality fastening of the roofing membrane to the rafters. Do not forget to purchase staples 6-8 mm long;
- Metal shears. If you need to cut a profiled sheet, then you can not do without special scissors. For products with a wave height of up to 10 mm, you can also use hand tools. For waves from 10 to 30 mm, it is better to use electric scissors, it is not necessary to buy them, it is easier and cheaper to rent a tool.

Drip mount
The first stage of roof installation is the installation of a drip on the edge of the overhang. The work instructions look like this:
| Illustration | Stage description |
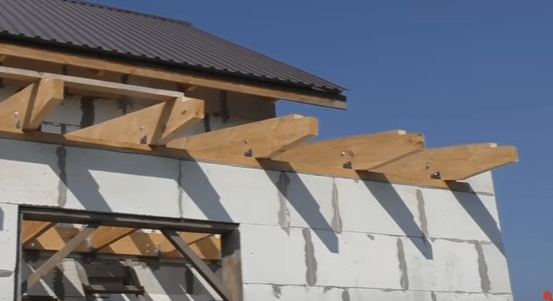
 | The edges of the rafters are aligned. You must pre-cut all the ends of the timber so that the ends are in line and at the same angle. |
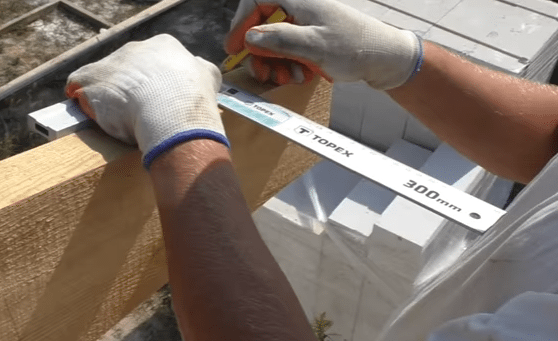 | Marking is done for cutting. We need to fix the board with a thickness of 25 mm along the edge. To make it flush with the surface, you need to make a cutout in the rafters. Typically, elements with a width of 120-150 mm are used. The cutout should be 5-10 mm larger so that the board fits in without problems. |
 | Cutouts are made. If you did the markup correctly, then this stage will pass quickly. It is best to work with a circular saw, cutting all the rafters with a hand saw is not the easiest and fastest task. |
 | Boards rise to the roof. When all the cutouts are done, pick up a few boards of the required size. If the elements are joined, then cut them so that the connection falls on the beam and is attached to it. |
 | Frontal board is exposed first. It must be aligned along the entire length and positioned so that the end goes to half of the rafter. |
 | The front board is fixed. For this, self-tapping screws 50-60 mm long are used. One element is screwed into each beam. |
 | A board is inserted into the cutout and fixed. The element is located in the prepared recess and, like the frontal board, is fixed with one self-tapping screw in each beam. |
 | Boards are additionally fastened with nails. 2 nails are driven into each joint for maximum strength. |
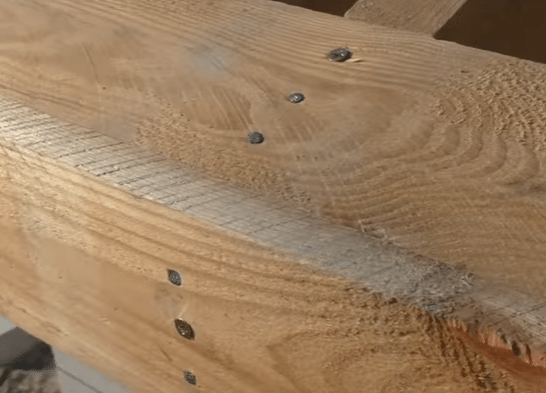 | This is what the finished structure looks like.. Each rafter has one self-tapping screw and two nails. |
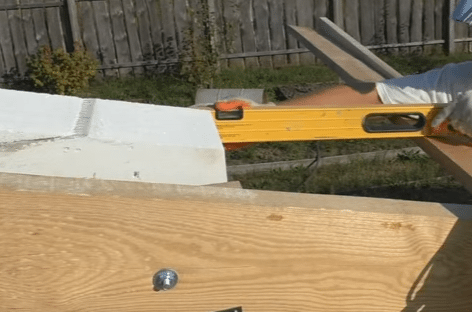 | Using the level on the boards, a wall line is drawn. This is necessary for accurate marking of the removal of the roof. Instead of a level, you can use a flat rail. |
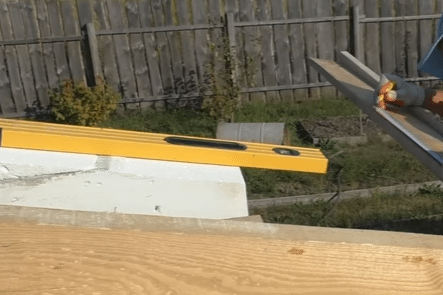 | The width of the roof overhang is laid off from the marked line. In our case, it is 50 cm. Marks are made, and then lines are drawn on both boards. |
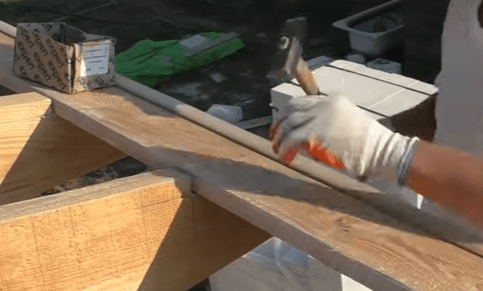
 | On the protruding part of the board are fastened together. Self-tapping screws are screwed in in increments of 20-25 cm. This will give the stem rigidity and make it easier to cut off excess pieces. |
 | Excess pieces are cut off. The most important thing is to be careful when carrying out work, you must stand on a stable structure and hold the tool strictly perpendicular to the board. |
 | The exact length of the overhang is measured. This will allow you to calculate how many planks will go and how they need to be cut. The standard length of the dropper is 2 meters, at least 100 mm of overlap is made on the joints, based on this, calculations are carried out. |
 | The protective film is removed from the drip. Never fasten the elements without removing the oilcloth, then tearing it out from under the nail heads is much more difficult. It is much easier to remove the protection immediately before installation. |
 | The dropper is trying on the overhang. If necessary, the element can be bent so that it fits as tightly as possible to the frontal board. To do this, the bar is turned over and gently bent along the entire length. |
 | The dropper is fixed. For work, galvanized nails 25-30 mm long are used.Fasteners are located in increments of 20-25 cm.
At the joints of the elements, two nails are nailed, the overlap on the joints should be 100 mm or more. |
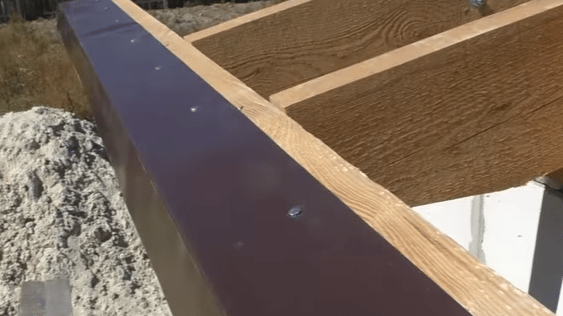 | This is what the finished result looks like. The bar is fixed along the entire length, fits snugly both to the top and to the frontal board. At this point, this stage is completed. |
Laying waterproofing

Waterproofing is attached like this:
| Illustration | Stage description |
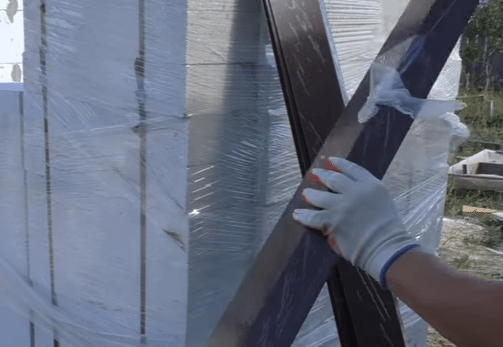
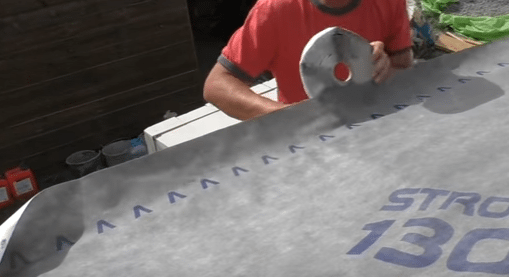
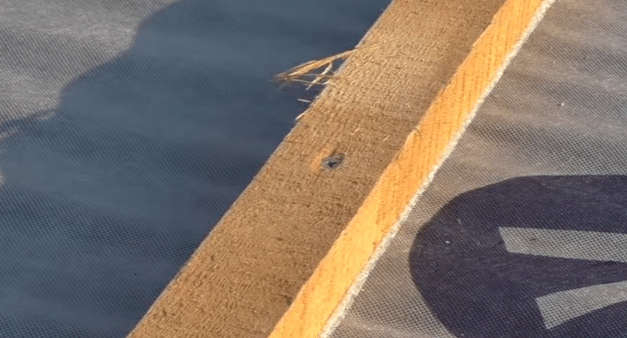
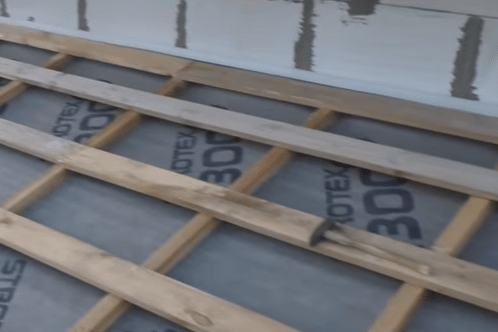
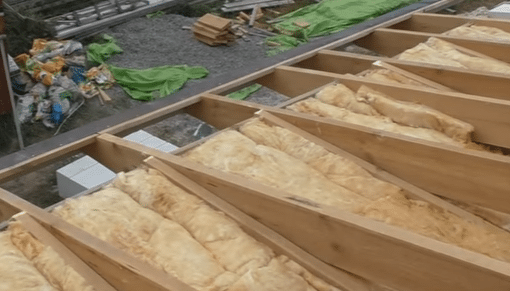 | Preparations in progress. If you need to insulate the under-roof space, then isolate the edges of the structure in advance, then it will be difficult to climb under the edge of the slope. The material is laid as tightly as possible so that there are no gaps at the joints. |
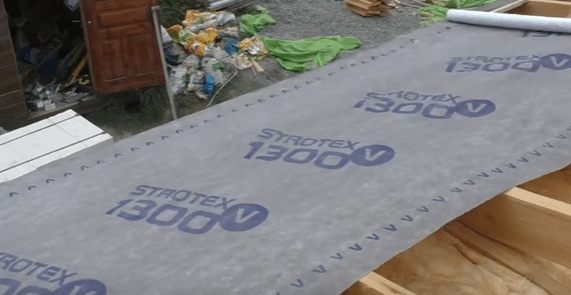 | The membrane spreads along the edge. The material is aligned along the dropper, it may not reach the edge by 2-3 cm, or it may lie flush with the bend. The membrane is cut along the line of the wall. It is most convenient to cut the material with scissors, but you can get by with an ordinary construction knife. |
 | The membrane is fixed. For this, a stapler is used. You simply hammer staples into each rafter in 20-25 cm increments.
During the fastening process, monitor the tension of the material, it should not be too tight, but sagging of more than 2 cm is also undesirable. |
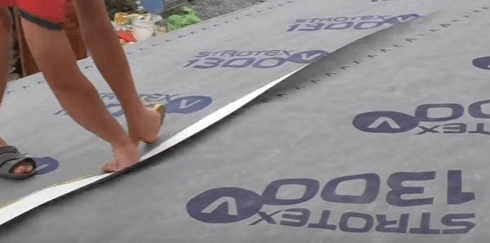
 | The second and subsequent canvases are laid. At the joints, the overlap should be at least 100 mm.
If the angle of inclination is less than 30 degrees, then it is better to overlap 20-30 cm to ensure maximum reliability. |
 | A special tape is glued along the joint. It is located with an indent of 3-5 cm from the edge of the connection.
Just bend the edge of the top sheet and glue the surface along the entire length of the joint. |
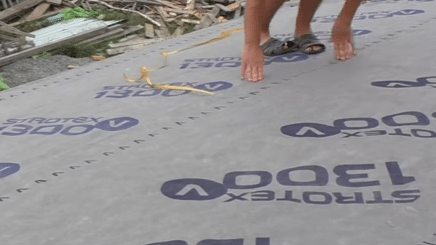 | The protective layer is removed from the tape and the canvases are glued together. It is necessary to gradually separate the protection and evenly press the membrane. Try to connect the elements without folds and distortions, it is better to separate the protective layer little by little, then the work will go quickly and efficiently.
After gluing the canvases, you can fix the upper element with staples, the rest of the rows, if any, are also laid. |
 | A double-sided tape is glued along the edge of the dropper. Since it will not work to fix the membrane with brackets through the dropper, the edge must be glued. To do this, a double-sided tape is glued with an indent of 2-3 cm from the edge of the canvas. |
 | The protective tape is removed and the edge is glued. Here everything is done in the same way as on the joints: the protection is separated in small pieces, and the material is tightly and evenly pressed against the surface.
After finishing gluing, you can proceed to the next step. |
Installation of counter-battens and battens
The basis for roofing is done like this:
| Illustration | Stage description |
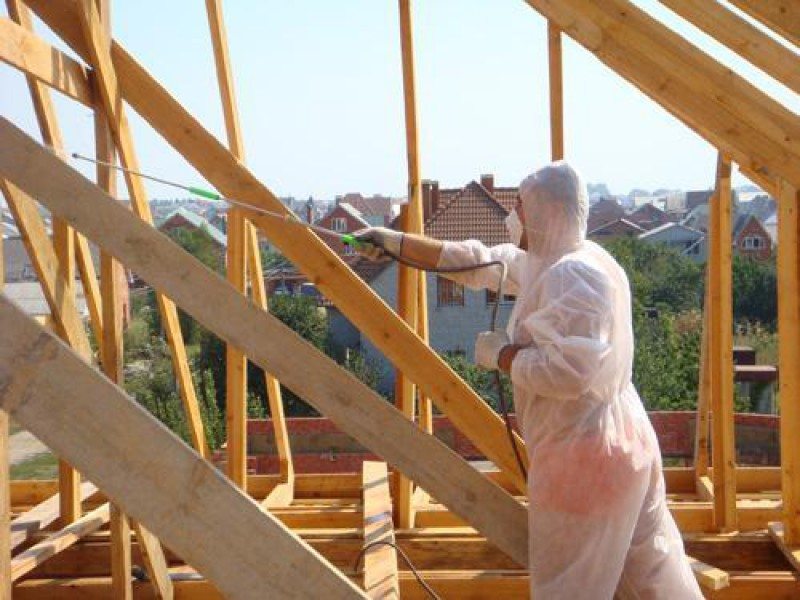
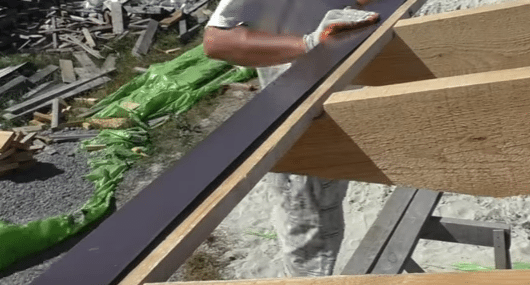
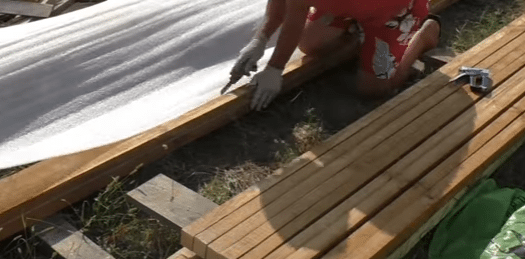
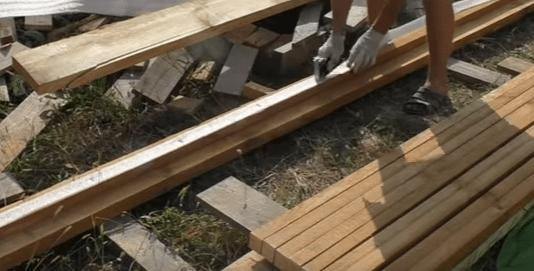
 | lumber processed. Any flame retardant will do. The application is made with a brush, after processing one side, the elements are turned over and so on until all surfaces are covered with a protective layer. |
 | The lining under the bar is cut out. For these purposes, a polyethylene foam substrate is used. The bar is placed on it, after which a strip of the desired size is cut with a knife. Such a gasket will allow the bar to fit snugly against the vapor barrier layer. |
 | Foamed polyethylene is fixed. For this, a construction stapler is used. Staples are placed in increments of 25-30 cm. |
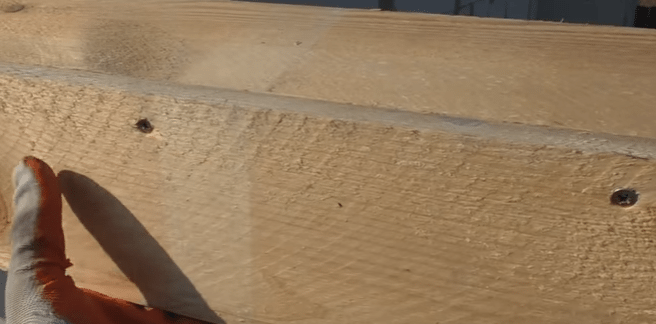
 | If there is bark in some areas, it must be removed.. The fact is that there are often bark beetle larvae in the bark, and if it is not removed, then over time the pests will ruin the board. |
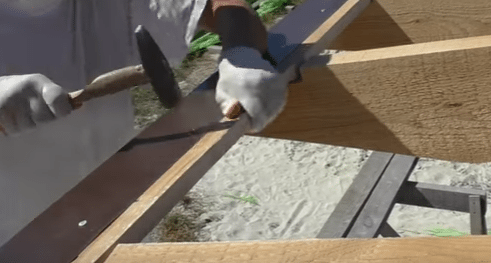
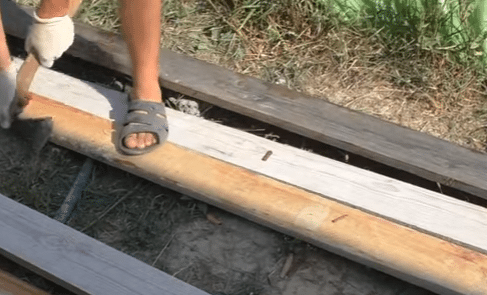
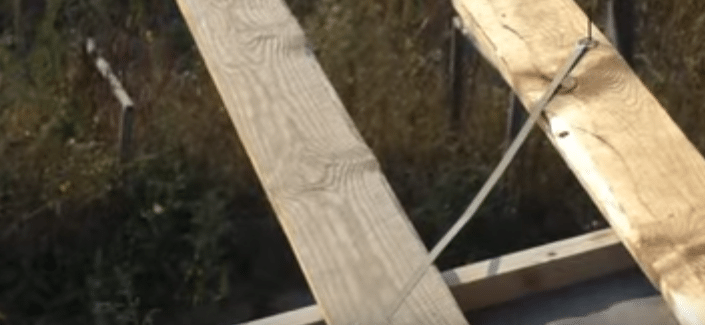
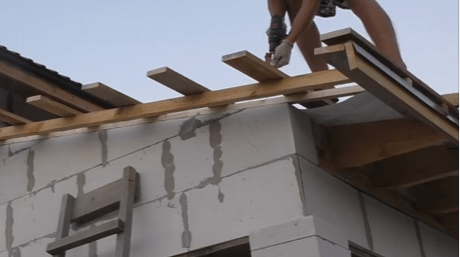
 | The bar is placed on the beam. The element is aligned along the edge of the drip to get an even overhang afterwards. |
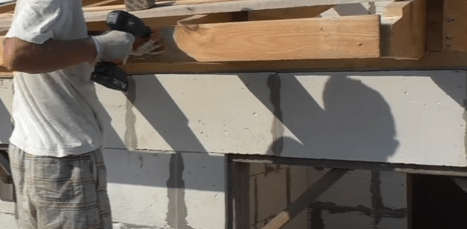
 | Primary fixation of the bar is carried out. One nail is hammered on both sides to fix the correct position of the counter-lattice element. |
 | The final fastening is done with self-tapping screws.. Nails will not ensure a tight fit of the bar due to the shock-absorbing layer, so you should use self-tapping screws 80-90 mm long. They are screwed in increments of 30-35 cm. |
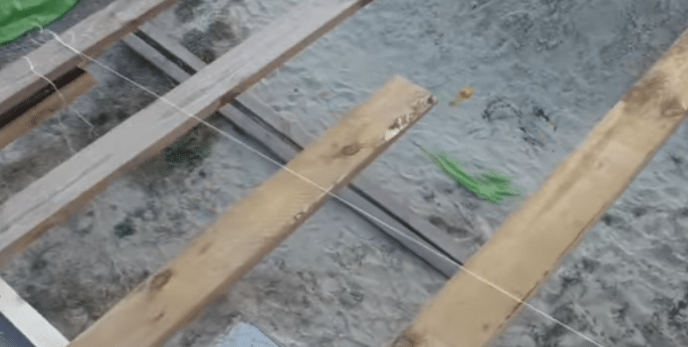
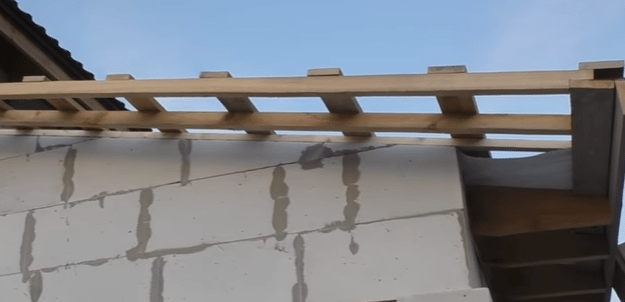
 | The position of the crate board is marked. The elements will be located in increments of 35 cm. You need to draw two lines in order not to be distracted during the fastening process and to place the crate correctly. |
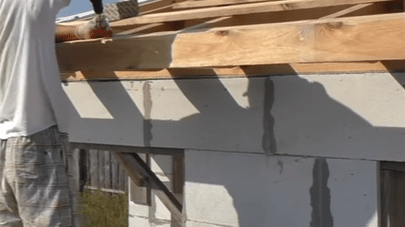
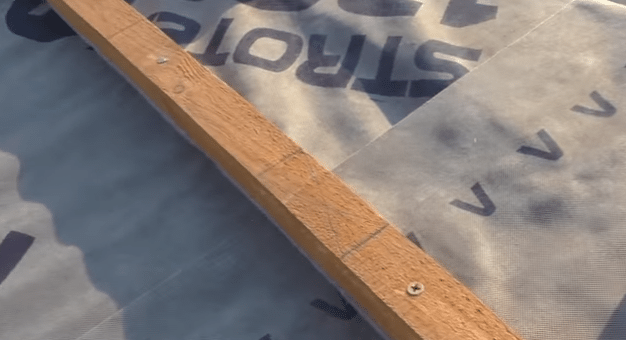
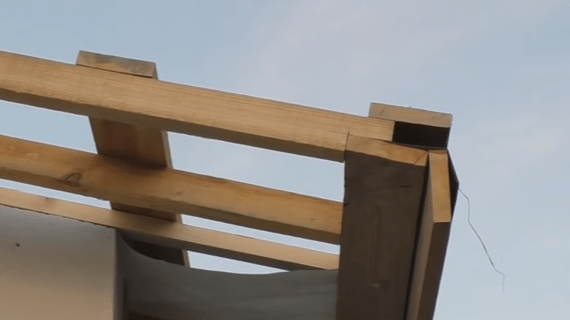
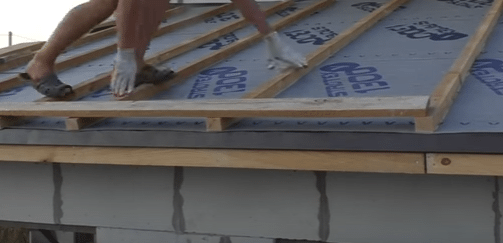 | The edge board is exposed. It is aligned along the overhang. Pay special attention to the joint, it should fall in the middle of the bar of the counter-lattice. |
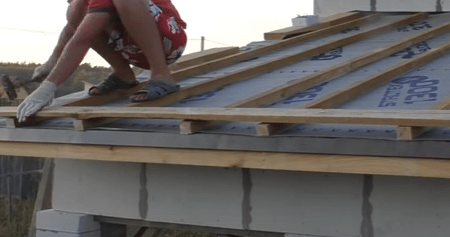 | The board is fixed with nails. The easiest way is to first hammer them around the edges to align the element, and then finish off the missing ones in the middle. |
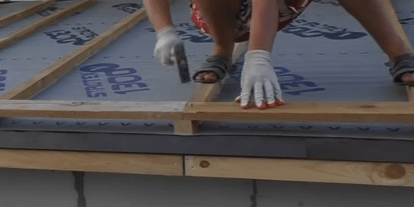 | Attached the second element. Here the work must be started from the junction to make the connection even. At the docking point, it is better to hammer in two nails for reliability.
All other elements of the crate are attached in the same way, thanks to the markup, you will quickly and accurately carry out the work. |
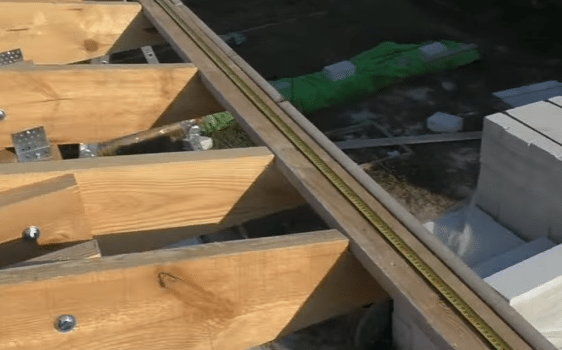
 | Diagonals are measured. To do this, self-tapping screws are screwed in the corners and measurements are taken. The values must match or differ by a couple of centimeters.
If you have a bias, you need to find out what caused it and fix the problem. |
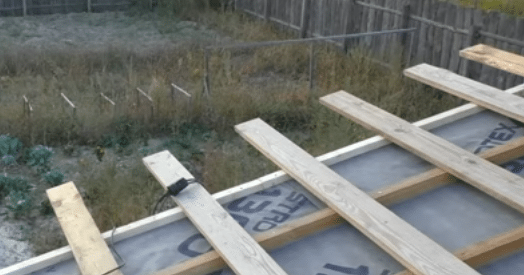
 | The edge of the overhang is marked. For simplicity, self-tapping screws are screwed into the upper and lower board of the crate along the desired line. A cord is stretched between them, which will serve as a guide when cutting off excess pieces. |
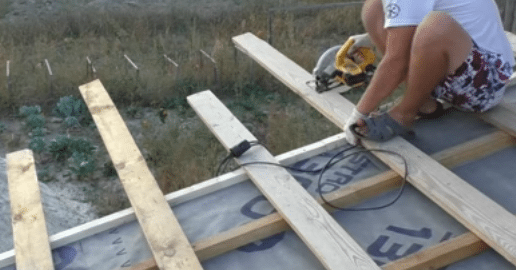 | The ends are cut along the line. Everything is simple here:
|
 | The length of the overhang is measured. After trimming the excess, measure the distance from the first to the last board to cut 2 bars to reinforce the structure. |
 | The first bar is fixed. It is located at the bottom of the crate with an indent from the wall of 15-20 cm. Fastening is done from above, self-tapping screws 65-70 mm long are used for work. Nails should not be used; with this method of fastening, they will not provide the necessary reliability. |
 | The end bar is fixed. It aligns with the ends of the board and is fixed in the same way as the previous element. |
 | The joint of the bar with the drip board. It is done like this:
|
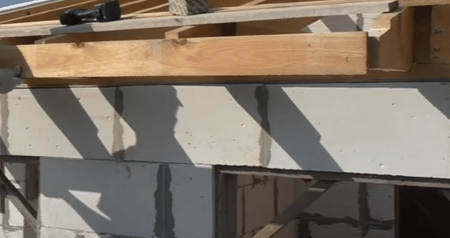
 | A board is nailed along the edge of the upper junction. It can be a joint with a wall or a ridge, there is no difference, you must nail the board along the top line. |
Profiled sheet installation
Do-it-yourself corrugated roof is mounted as follows:
| Illustration | Stage description |
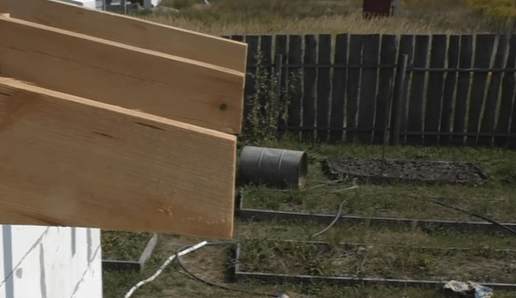
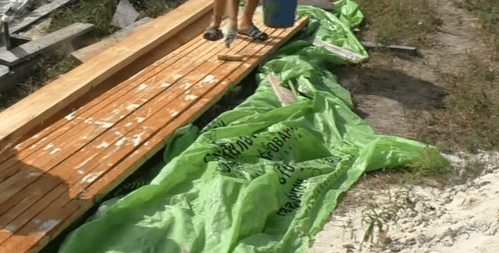
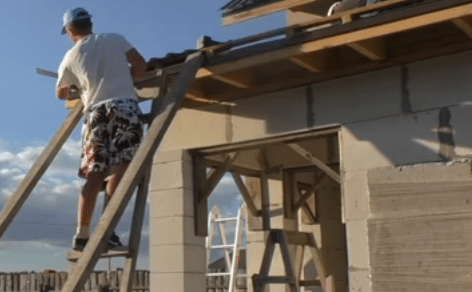
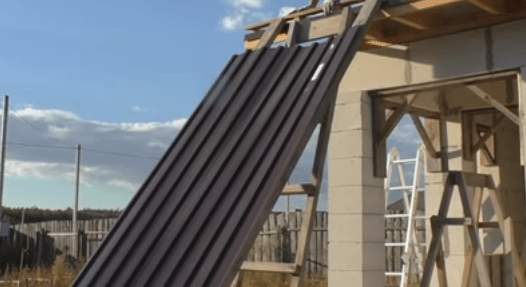 | Skids are being built for climbing to the roof. To do this, the easiest way is to put two bars of a suitable length and securely fix them so that they do not fall during operation. You can link elements together. |
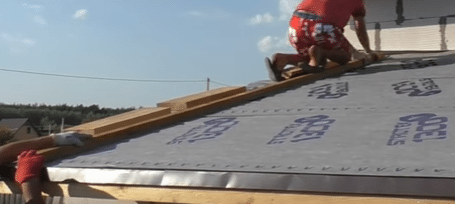
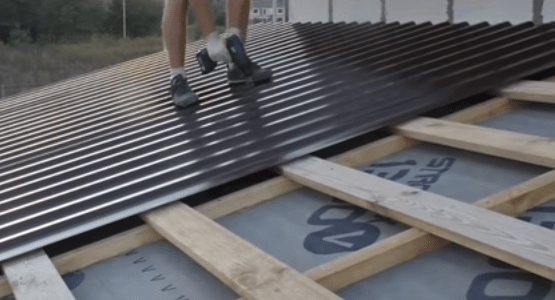
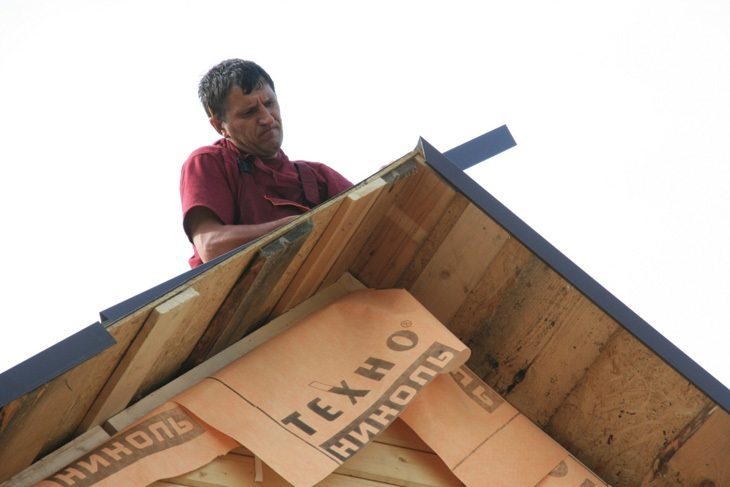
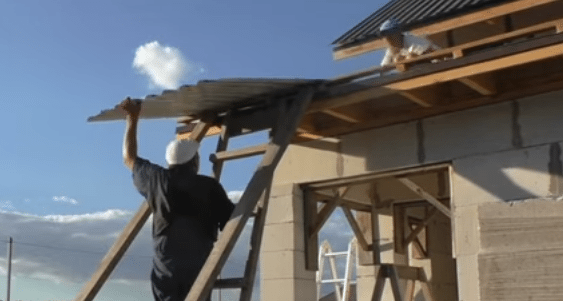 | The sheet goes up. It is not difficult to raise the corrugated board to the roof, for this you need two people, one lifts from above, and the second insures and pushes from below. For convenience, a ladder is placed under the lifting bars, then you can climb as the sheet moves. |
 | The sheet is aligned along the overhang. It is this side that is best seen from the ground, so you need to navigate along it.
Even if there are flaws in the upper part, you will close them with a ridge element or an adjoining bar. Also control the side, it should be flush with the crate, the board should not stick out. |
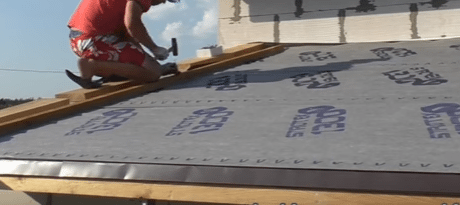
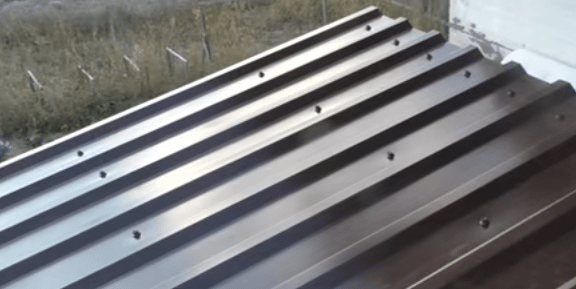
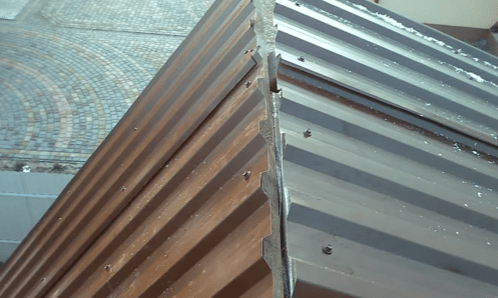
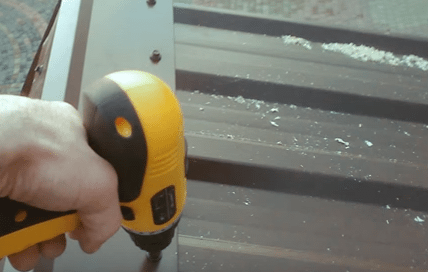
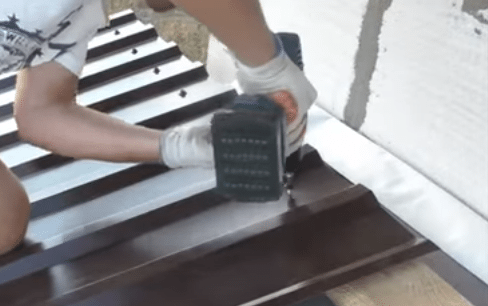 | The top is fixed. Along the edge, the sheet is fixed with roofing screws in each wave. Fasteners are located in places adjacent to the crate.
In the process of tightening, the position of the fastener should be controlled, the rubber gasket should be slightly flattened in order to fit snugly against the surface. |
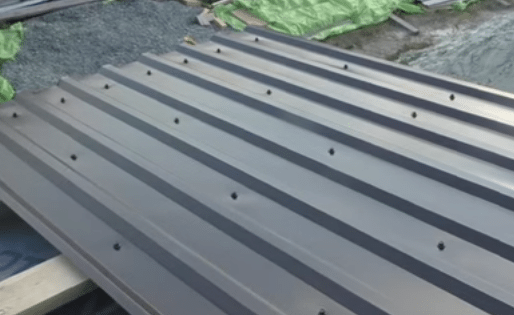
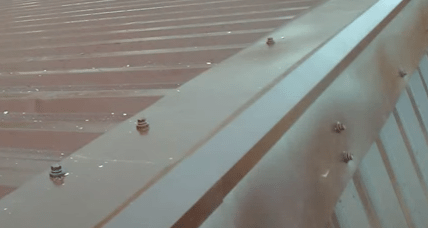
 | Self-tapping screws are screwed into the next rows of the crate after 1 wave. This is done in a checkerboard pattern, the photo clearly shows the correct arrangement of the elements.
With this fastening, there are about 8 self-tapping screws per square meter. |
 | This is how the mount is made at the bottom. At the bottom, self-tapping screws are also screwed into each row, the indent from the edge should be no more than 10 cm. |
 | Put the next element. It is also first aligned along the overhang, after which it is fixed along the edges in the upper part and along the joint.
The connection requires special attention, so it is best to start work with it. |
 | Most often, the extreme piece needs to be cut along. The process looks like this:
|
 | The cut end is painted. For coated corrugated board, special paints are sold in aerosol cans that exactly match in shade. They are applied to the cut off part, in several layers. The composition dries very quickly and has high protective characteristics.
|
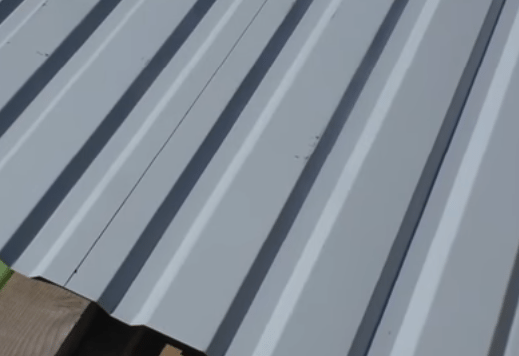
 | This is what the roof looks like after attaching all the sheets. Now you can proceed to the installation of additional elements. |
 | The length of the ridge connection is measured. The required number of elements is considered. When calculating, do not forget that at the joints you need to make an overlap of 10-15 cm. |
 | The ridge is fixed with self-tapping screws. It has the following features:
|
 | The ridge is fixed along the entire length of the joint. Most importantly, the element must fit snugly against the roof and be securely fixed. |
 | The wind bar is fixed. The work is done like this:
|
Conclusion
The instructions turned out to be so detailed that even a novice master will cope and be able to figure out all the nuances of installing a profiled sheet on a roof. The video selected for this article contains visual information about some important points in the workflow. But if something remains unclear to you, ask in the comments.
Did the article help you?