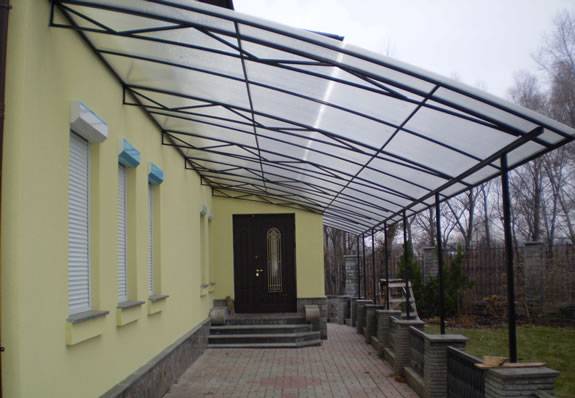
The subject of this article is awnings and polycarbonate. We have to learn about the properties of this material, and how the canopy frame is constructed. In addition, we will find out which polycarbonate is preferable for our purposes and how to fix it correctly.
Choice of polycarbonate
How is this material classified?
Thickness
A typical assortment of a hardware store includes cellular polycarbonate with a thickness of 4 to 10 millimeters.
To clarify: the industry produces material with a thickness of 16, 25 and even 32 millimeters; however, its price makes the purchase a dubious undertaking.
Thickness defines two additional parameters:
- Minimum bend radius. For 4 mm polycarbonate, it is 0.7 m, for 10 mm 1.75.
- The maximum step of the crate. With average wind loads and a canopy slope of at least 30 degrees, which will prevent snow accumulation, it is 40 cm for a thickness of 4 mm and 1 meter for 10 millimeters.
As a rule, for the purposes of interest to us, an 8 mm coating is used; a reasonable minimum is 6 mm.
Color
The taste and color ... Remember? However, in addition to personal preferences, several objective factors play a role here.
- The dark, saturated colors of a polycarbonate canopy will cause it to heat up more in the sun, with some reduction in the life of the material. On the other hand, under a canopy it will be somewhat cooler: the infrared part of the spectrum will be delayed by the roof.
- The transparent material has a translucency of up to 80%. It will never be dark underneath. But it's hot - easily.
UV filter
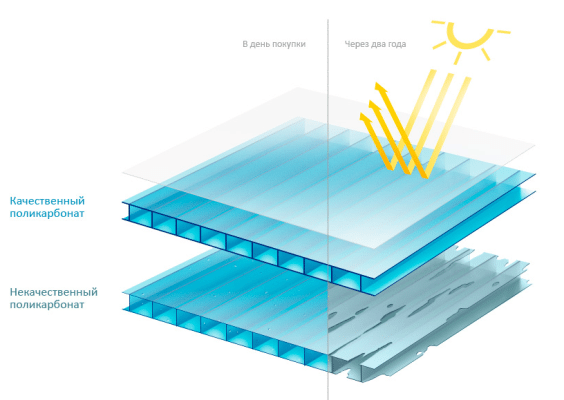
For obvious reasons, polycarbonate types devoid of an ultraviolet filter are not suitable for a canopy: the service life of such a roof will be no more than 3-5 years. The filter (thin polymer film) is present, as a rule, only on one of the sides; it is this side that should look up after installation is completed.
frame
materials
Typical materials for its construction are timber, board and shaped steel pipe. Connection methods are quite traditional:
- The profile pipe is welded by electric welding; much less commonly, the structure is assembled on bolts or special clamps for a professional pipe. A welded joint is not only stronger and tougher, but also much cheaper (of course, without taking into account the cost of the welding machine).
- The timber and boards are fastened with studs with wide washers or with the help of galvanized plates, corners and self-tapping screws.
Dimensions
What sizes should be followed? The dimensions of the roof should ideally be a multiple of the dimensions of the polycarbonate sheet (2.1 x 6 and 2.1 x 12 meters).
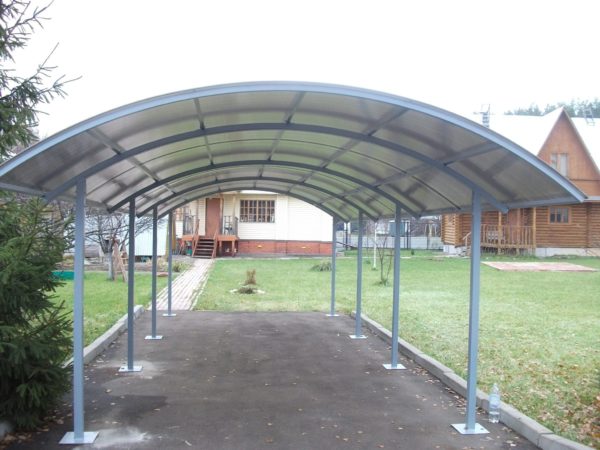
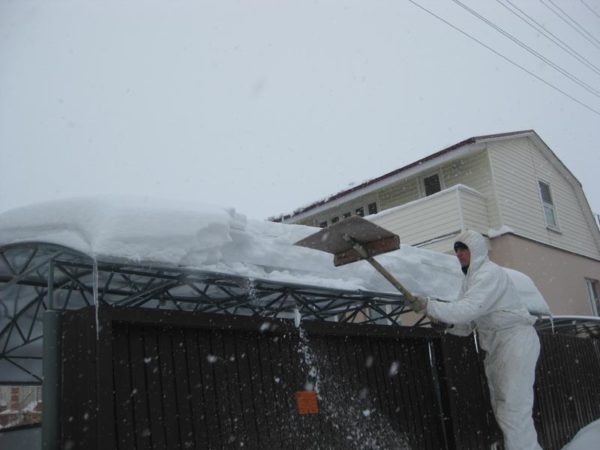
We have already mentioned the slope: in regions with snowy winters, a reasonable minimum that will not allow the accumulated snow to push through the canopy is 30 degrees to the horizon.
The cross section of structural elements is determined by their functionality:
| frame element | Minimum section, mm |
| Pillar | Bar 100x100, square pipe 80x80 |
| Beam with a span of up to 3 meters | Board 100x40, rectangular tube 80x40 |
| Beam with a span of 3 to 6 meters | Board 150x50, rectangular tube 100x60 |
| Jumper between pillars (span no more than 3 meters) | Timber 100x100, board 150x50, rectangular tube 100x60 |
Important: rectangular beams are mounted so that the largest of the sides is parallel to the maximum load vector (in our case, vertical).
Pole installation
It starts with digging holes. A typical diameter is 30 cm, the depth varies depending on the density of the soil from 0.6 to 1 meter.
It is clear that you cannot dig holes with such parameters with a shovel and a pickaxe. The work can be done in two ways:
- Garden drill.

- Alternatively, the hole can be opened with a larger width.A pipe with a diameter of 30 cm, rolled up from galvanization, is placed in it, after which it is filled in layers and the soil around it is compacted. Then the pipe is carefully removed.
Pillars, regardless of the material, must be protected from contact with water, and wood also from decay. In both cases, bituminous mastic applied in at least two layers is used as waterproofing. The tree is pre-impregnated with an antiseptic composition.
The instruction for the actual concreting looks like this:
- The bottom of the pit is covered with rubble by 8-10 cm.
- The column is set strictly on a plumb line.
- The pit is filled with gravel to the ground level (again with a layer-by-layer rammer every 20 cm).
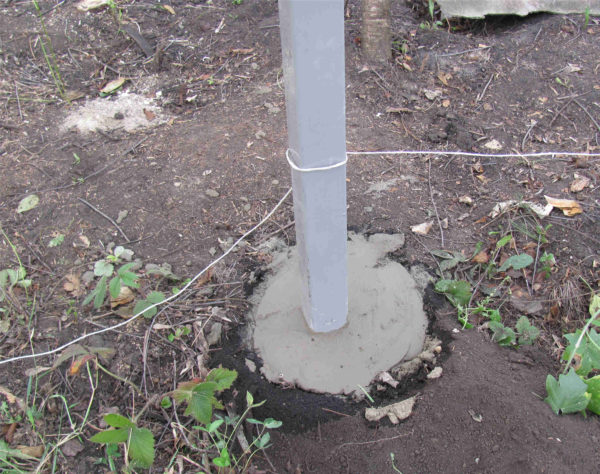
- The base of a securely fixed column is poured with a liquid cement-sand mortar, prepared in a ratio of 1: 3.
Jumpers between pillars
The method of fastening the pillars and the lintel, on which the beams will lie, is determined by its material. With a profile pipe, everything is clear: after fitting the grinder, the seams are boiled. What about the wood frame?
- The beam is laid on the ends of the pillars and connected to them with galvanized plates or corners.
- The board is attracted to each post by a pair of studs with wide washers.
beams
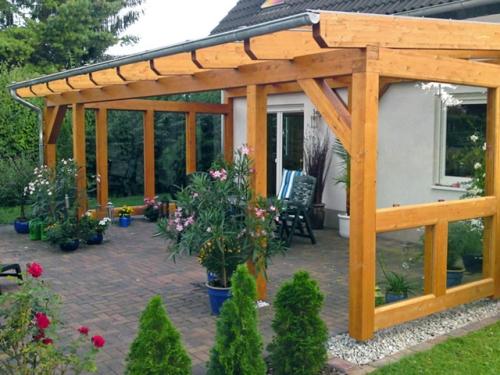
The method of fastening wooden beams is galvanized corners, two per beam on each side. With a significant margin of safety of the lintels, the beams can be cut into them to a shallow depth. The step between the beams is no more than a meter.
crate
It is laid perpendicular to the beams if the beams are rare and the thickness of the polycarbonate is small.For a wooden frame, a bar with a section of 40x40 or 50x50 is used as a crate, for metal - a pipe with a section of 20x40.
Painting, hydrophobization
In addition to the decorative function, painting or impregnation performs a protective function: it protects steel from rust, and wood from decay. How to paint or impregnate the frame of the future canopy?
Steel pipe, as a rule, is painted with inexpensive weather-resistant enamel PF-115 on an alkyd basis. Steel is pre-cleaned from rust with a metal brush or treated with a rust converter, after which it is primed with GF-021 glyptal primer. Painting - after the primer has dried in two layers.
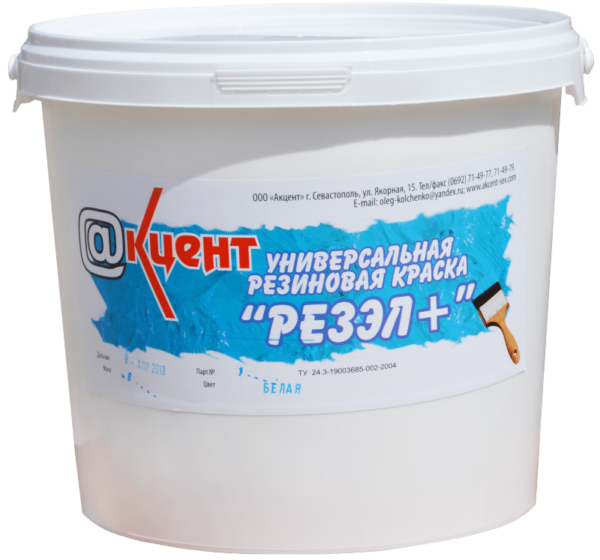
Wood can also be painted; however, it is not alkyd enamel that gives the best results, but water-based waterproofing rubber paint. After drying, it forms a durable and moisture-impervious film. The paint is tinted in any color with water-soluble pigments.
A tree with a beautiful texture is impregnated with drying oil heated in a water bath or Aquatex - an antiseptic with a hydrophobic effect and tinting additives.
Polycarbonate laying
Laying the roofing with your own hands is more than easy: the sheets are attracted to the frame with self-tapping screws for metal or wood with rubber press washers that ensure tightness.
A number of subtleties, however, are here:
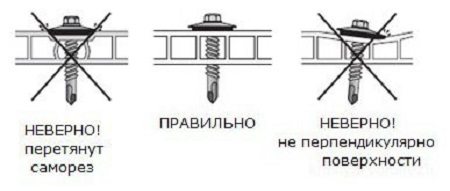
- Self-tapping screws are screwed in strictly at right angles to the surface of the coating. When skewed, the self-tapping screw is unscrewed and wrapped again.
- The washer should not crush polycarbonate. Excessive force will give radial cracks from the attachment point.
- The seam between adjacent sheets is closed with an H-profile fitted with silicone sealant.This will prevent leaks.
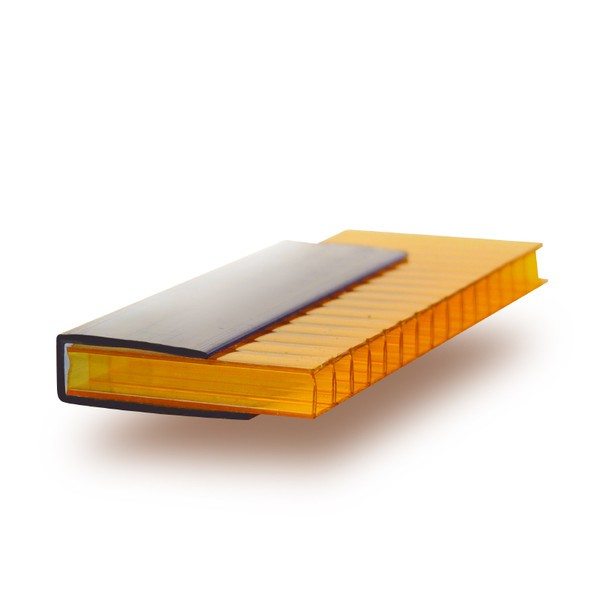
- The ends with open honeycombs are also sealed with a profile, but already U-shaped. It will prevent polycarbonate from becoming untidy due to dust and debris accumulated in the cavities.
Conclusion
We hope that our recommendations will save the reader from typical novice mistakes. The attached video in this article will allow you to more clearly get acquainted with the construction process. Good luck!
Did the article help you?
