The flooring in the bathroom morally and physically ages over time. If you are renovating your home, consider replacing it. The base needs to be leveled first.
Preparation for work
To begin with, the room is preparing for work on creating a screed. All plumbing devices are dismantled, after which the floor covering is removed, in most cases we are talking about tiles. A perforator with a special nozzle helps to easily knock down the tile.
The debris that has arisen in the room is carefully removed, the surface should be vacuumed. There should be no irregularities on the base, it should be cleaned of the remnants of the solution.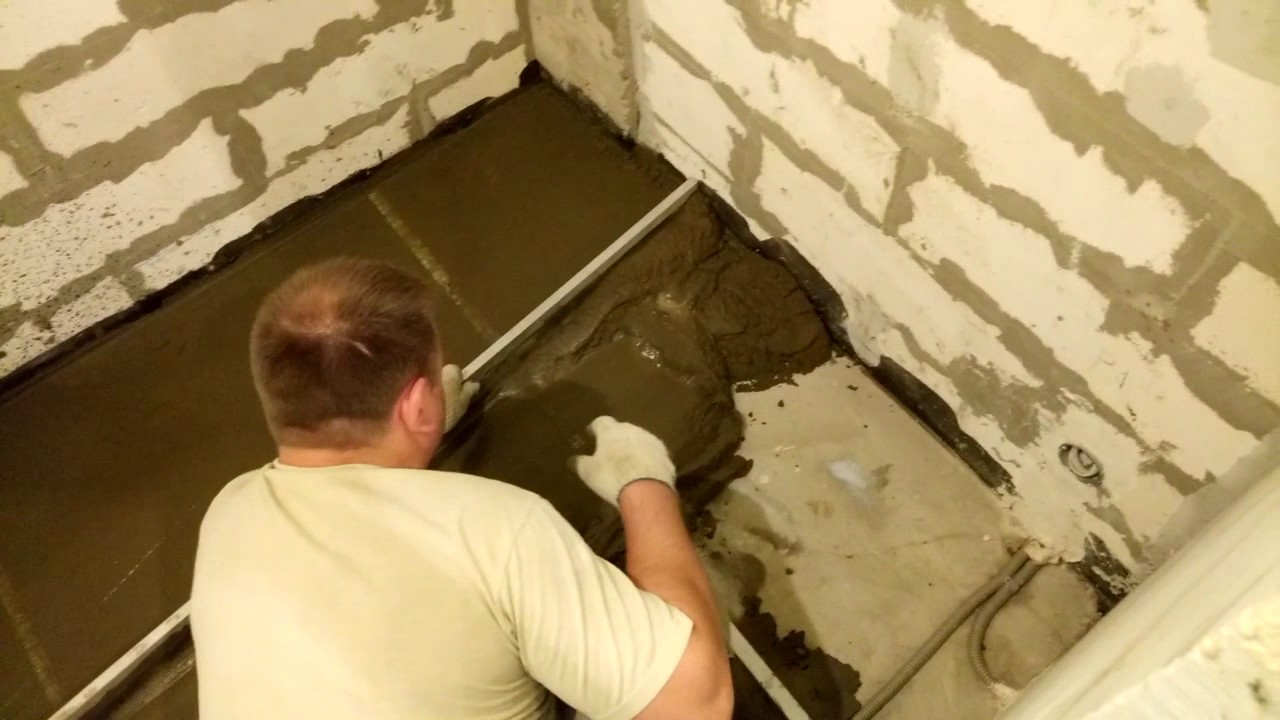
If the screed is in poor condition, has numerous cracks, significant differences in height, it should be removed.In this case, a layer of waterproofing is laid under the new screed and it is laid. Sometimes it will be necessary to level it with a thin self-leveling floor device.
If the condition of the screed is quite suitable for further use, you can immediately start applying the self-leveling floor.
Floor material
When choosing the required composition, you need to pay attention to the characteristics of the mixture. It is necessary to choose a composition designed for wet rooms. Self-leveling floor of small thickness up to 20 mm is a finishing coating for finishing.
It is easy to calculate the amount of material needed for the job. To do this, find the lowest and highest point of the floor in the bathroom using a level and a bench square. The volume of material is calculated based on the fact that a height difference of 1 cm requires 15 kg of the mixture per square meter.
All cracks and voids around the communication pipes should be sealed first. The gaps in the floor and wall must also be sealed.
Before applying the self-levelling compound, it is necessary to treat the concrete base with a primer intended for application to concrete. The primer prevents the penetration of moisture into the concrete, promotes a more uniform distribution of the material over the surface. Primers with antiseptic properties prevent the development of fungi.
You need to think about creating a threshold in the bathroom, if there is none. It will not allow the mixture to flow out of the room. You can make it from a U-shaped profile. The sections of the walls that are directly adjacent to the floor are pasted over with a foamed polymer tape, which will prevent the screed from cracking during thermal expansion.
Pouring process
To perform the filling, a mixture is being prepared. The capacity for this should be large enough, since the composition sets in 40 minutes, which is quite a bit. Practice has shown the efficiency of work using a container of about 30 liters.
It is important to follow the manufacturer's instructions when preparing the mixture. There must be a strictly defined amount of water in the solution.
Filling is performed starting from the far corner. The solution is important to evenly distribute. After pouring the entire floor, its surface can be treated with a roller so that the solution is distributed more evenly.
The floor dries for about 6 hours, after this period of time it is already possible to walk on it. A full set of strength occurs in a few days.
Source:
Did the article help you?