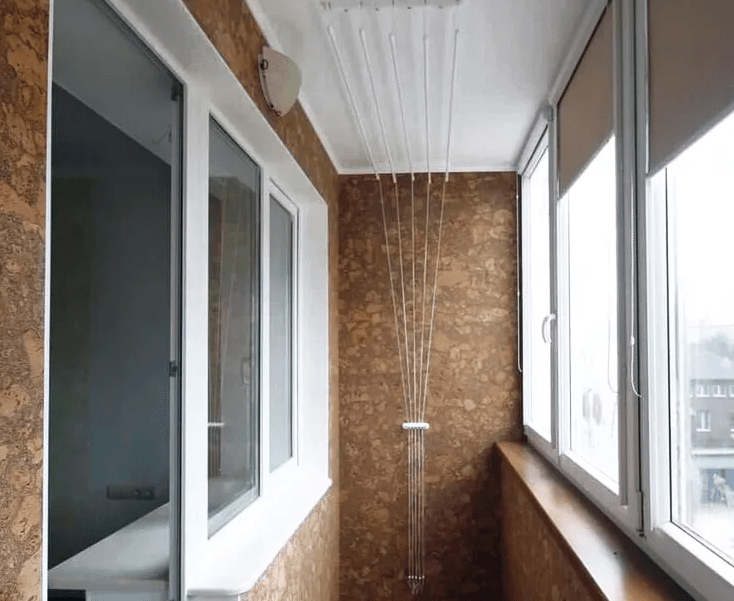
The loggia can become a residential part of the apartment if it is insulated and equipped. Alteration of the balcony is one of the ways to expand the space, get additional living space. It is not difficult to insulate the loggia from the inside with your own hands. The work is carried out in stages: first the floor is insulated, then the walls and ceiling, and then the lining is made. Before warming, they determine the choice of thermal insulation materials, prepare the balcony for work, and consider the sequence of installation.
What thermal insulation materials are better to insulate the loggia
For each surface choose your insulation. The floor requires strength and rigidity; expanded polystyrene will cope with this function. But for the ceiling, light material is selected: foam, polystyrene or mineral wool. Balcony walls are insulated with mineral wool, polystyrene, penofol.
Materials:
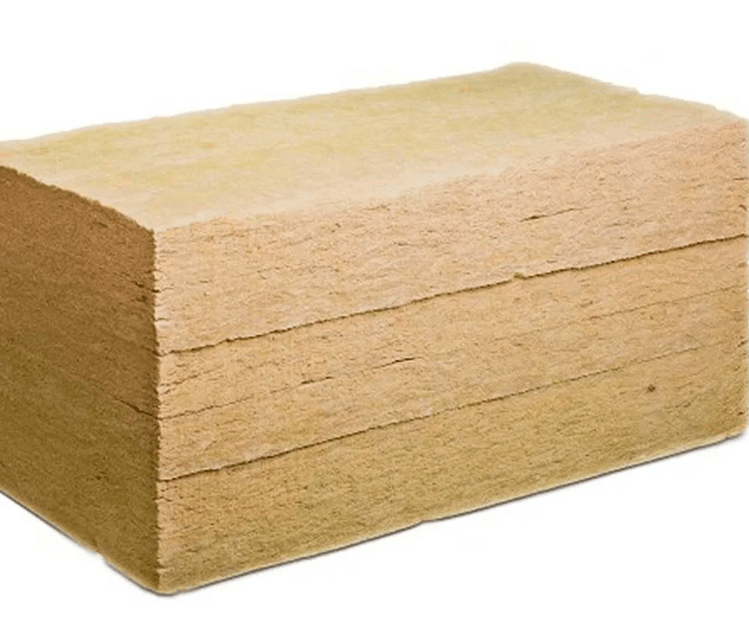
- Mineral wool - keeps heat well, absorbs noise, does not burn, but is prone to moisture accumulation. Therefore, the material requires waterproofing. Since mineral wool is heavier than polystyrene foam, a reliable frame is needed for its fastening. Over time, the material is able to settle and deform.
- Expanded polystyrene (penoplex) - similar in characteristics to polystyrene, it has a denser structure. The material is strong, lightweight, retains heat well, durable. The disadvantages include flammability, penoplex does not let air through.
- Penofol is made of foamed polyethylene, covered with foil on top or on both sides. It is produced in various thicknesses and widths. The material has low thermal conductivity, excellent sound insulation. Penofol is easy to mount, cut, transport.
When choosing a heater, take into account the properties of thermal insulation, sound insulation and moisture resistance. Materials for the loggia must be resistant to water. Therefore, a vapor barrier film is provided for mineral wool.
In a panel house, the loggia is a continuation of an apartment building. So, she has side walls and a ceiling in common with the building. And in a brick house, the balcony protrudes beyond the building. It cannot withstand increased loads. When insulating and finishing, these features should be taken into account and lighter material should be used for the balcony.
Preparing the loggia for insulation
Prepare the necessary materials for facing the loggia, work clothes, gloves, tight shoes. The room is put in order, all things and furniture are removed, the shelves are dismantled. Install durable plastic windows that retain heat. Choose reliable double-glazed windows with triple glass.

You will need the following tools:
- screwdriver;
- drill;
- perforator;
- hammer;
- knife;
- level;
- spatulas;
- brushes.
Materials for work:
- insulation;
- facing materials - drywall, plywood, PVC;
- wooden bars;
- glue;
- mounting foam;
- cement mixture for the floor;
- vapor barrier;
- metal tape;
- nails, screws, dowels.
Preparatory work in stages:
- Before starting, cover the glass with a film to protect them from damage.
- For electrical wiring, strobes are made in the wall.
- Attach sockets and switches.
- The remaining metal elements are cleaned and coated with anti-corrosion paint.
- All surfaces are cleaned of dust and dirt.
- Old layers of paint are removed with a metal brush or spatula.
- Many notches are made on painted surfaces if the paint cannot be completely removed.
- The ceiling, floor and walls are treated with an anti-fungal agent until the solution dries, work is not resumed.
- All surfaces are primed.
- Through holes are made in concrete walls for ventilation. Brickwork is not touched.
- The electrical cable is laid through PVC and strobes.
On a note!
To make the loggia comfortable, install ventilation and air conditioning. In winter, it will heat the room, and in summer it will refresh it.
How to insulate a loggia from the inside with your own hands: step by step instructions
Thermal insulation work is carried out in dry weather.Some adhesive compositions are prepared in advance so that the mixture stands. Polyurethane foam is bought resistant to cold and temperature extremes. The wood used must be dried, it must be mounted only in a dry form.
Floor insulation
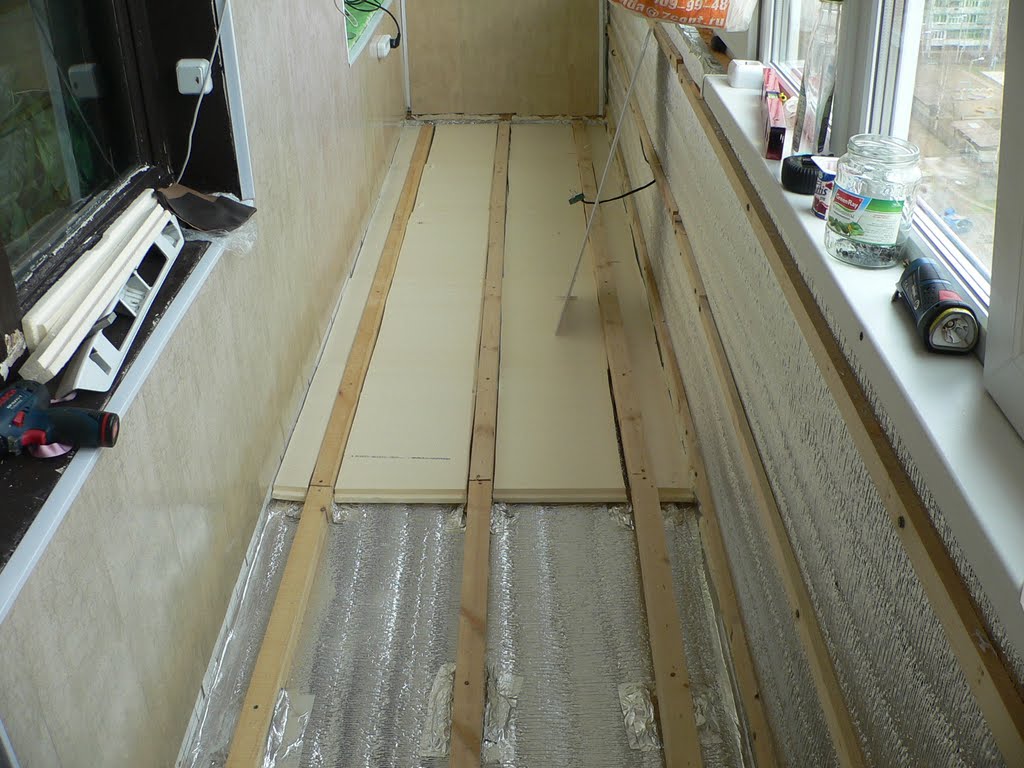
All work starts from the floor. You can use different options for insulation, for example, fill the floor with expanded clay, and then make a screed. Or instead of this material, use foam plastic, make a crate, cover it with a board on top. The third option: install wooden logs, lay any insulation between them, and attach bars to them. For those who will insulate the loggia for the first time, it is worth watching videos and photos on the Internet about the sequence of work.
Step by step instructions for beginners:
- Dense polystyrene foam is laid on a clean floor.
- Reinforced mesh is placed on top.
- Make a cement mixture, distribute it evenly over the floor.
- The grid is lifted, the solution is rammed.
- The base is rubbed with a grater, checked by the level, left to dry for a day.
- Laminate, board, tile are laid on top.
Advice!
To maintain a constant comfortable temperature on the loggia, it is recommended to use a "warm floor" system. This need is due to the fact that there is no central heating in the room, and the heater gives only a temporary effect.
Ceiling insulation
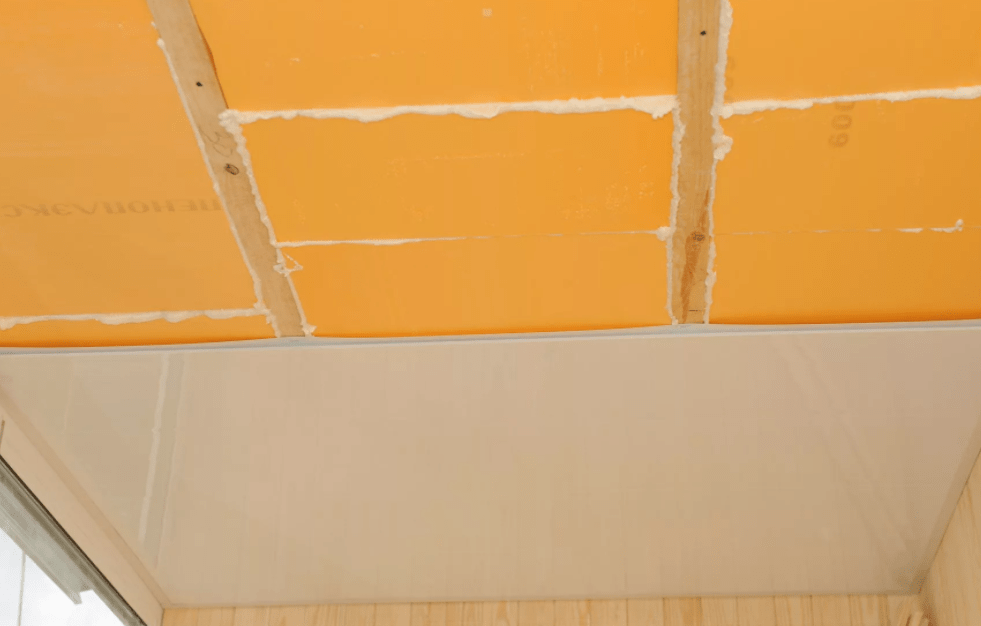
If the loggia is located on the middle floor and the floor on the balcony of the neighbors is insulated from above, then the ceiling can not be covered with heat-insulating material. Only finishing work. But, if the loggia on the top floor or the balcony of the neighbors is not glazed, then it is necessary to insulate the ceiling.
Step-by-step instructions on how to properly insulate the ceiling:
- If the surface is uneven, it is leveled with putty, checked with a level.
- Prepare an adhesive solution: pour the mixture into a container, add water, interfere.
- A sheet of foam or foam plastic is applied to the ceiling, circled, drawing a contour with a pencil.
- Apply glue to the penoplex along the edge and in the middle of the material, apply the sheet to the ceiling on the contours marked with a pencil, hold until it seizes.
- Umbrellas are inserted into the glued canvas, but they are not clogged until the end of the work.
- Attach the rest of the foam sheets to the base.
- Seal the joints with sealant, if the gaps are more than 2 mm, foam is used.
Advice!
Instead of polystyrene, you can use mineral wool, penofol. When using mineral wool, a frame is made and a hydrobarrier is made.
Wall insulation
The choice of fixing thermal insulation to the wall depends on the finishing material. For painting and plastering, the insulation is glued to the surface. When using lining or drywall, the material is mounted on the wall using fasteners.
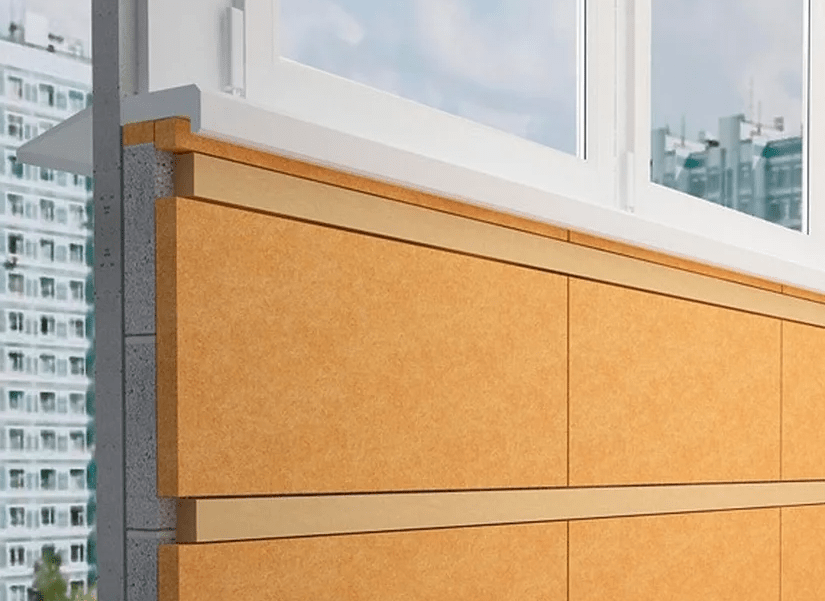
Work in stages:
- Irregularities are detected on the walls with the help of a level, the surfaces are leveled with a mixture.
- Installation begins with a cold wall, with a parapet. Polyurethane adhesive is applied to the layer. They are glued exactly, since then the sheet cannot be torn off.
- The foam is applied to the wall, the insulation is pressed, waiting until it sticks. Pull the thread, it will serve as a level.
- Sheets are glued in a checkerboard pattern.
- L-shaped slabs are placed near the door and windows. The protruding edges of the material are rubbed with a grater. All angles must be 90°.
- Slopes are formed from strips of thin foam.
- The seams are sealed with foam.
- The corners are covered with profiles and mesh.
- The surface is plastered.
- They reinforce the wall: a solution is placed on the insulation, then a mesh with an overlap of 10 cm, left to harden for a day.
- The surface is sprayed with water.
- A leveling layer of the solution is applied, it dries for 24 hours.
- The walls are puttied, leveled, they dry out in 1 day.
- Finishing - painting, wallpapering, tiling.
Advice!
Finishing paint on the walls is applied after the flooring. In order not to cover it with dye, cover the surface with a film or paper.
Finishing work
Finishing starts from the ceiling. The following materials are used:
- plastic panels;
- drywall;
- board.
The walls are finished:
- PVC panels;
- moisture resistant drywall;
- tree;
- brick.
Lay on the floor:
- linoleum;
- tree;
- ceramic tiles.
Drywall is used for facing with plaster or tiles. In the first case, the composition is applied to the GKL, distributed in an even layer, allowed to dry, and then the walls are painted.
MDF sheets can be quickly put in place, they are unpretentious in their care, there is a large selection of colors. Mount MDF on a wooden or metal frame.
Clapboard trim:
- They choose a corner on the balcony, install a plastic corner, which is attached to a wooden beam.
- The lining is fixed on self-tapping screws.
- Subsequent sheets are interconnected with special grooves and spikes located on the board.
- If necessary, cut the lining with a hacksaw.
A cement screed is made on the floor, after drying, they are covered with ceramic tiles, linoleum, laminate on top. To lay the board, you will need a wooden crate; insulation is placed in the voids. Boards are distributed on the grate, fastened with screws or nails.
Ceiling cladding is similar to wall cladding. In addition to boards and drywall, you can use a suspended ceiling - it is easy to hide electrical wires under it.
Attention is paid to the parapet of the loggia. It is recommended to make the crate with a bar, and close it with siding from the outside.After finishing all the surfaces of the loggia, a plinth, wall lamps, switches, sockets are mounted.
To make the loggia warm and cozy, choose the right insulation, using waterproofing when laying it. All work is done in stages, considering each step, trying not to miss anything. Joints, gaps, cracks are sealed with sealant or foam. Surface cladding is carried out after installing the insulation crate and laying the finishing material.
Did the article help you?