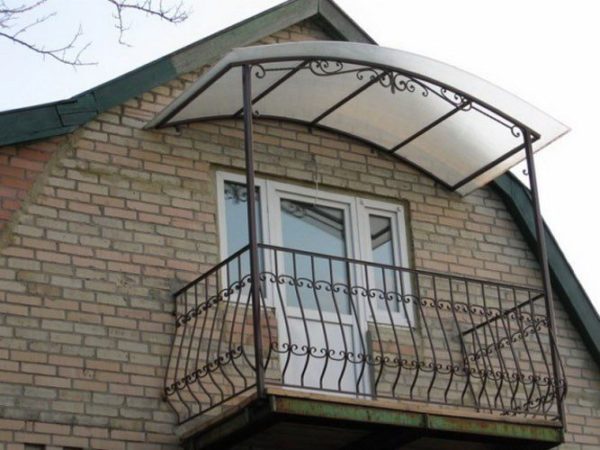
The balcony, as a protruding part of the house, needs additional protection from precipitation and falling objects from the roof. This problem is especially relevant for free-standing balconies and those located on the top floor, since they are not protected by a higher balcony area and are completely open. We will tell you how to install a canopy on the balcony yourself.
Canopy over the balcony
Purpose and varieties
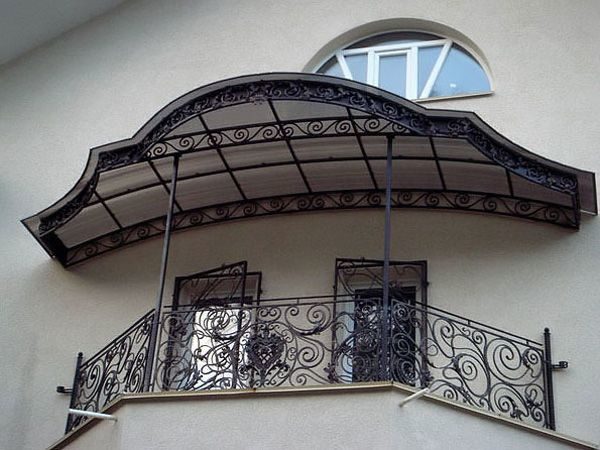
The main purpose of the visor is to protect the area under it from rain, snow, other types of precipitation, as well as from the fall of ice, icicles, snow and other unwanted objects from the roof to the place that is under the structure.
It should also be taken into account that a balcony with or without a canopy is part of the architectural picture of the facade of the house, so the canopy carries a certain aesthetic load and must fit into the exterior of the building and the overall design of the facade.
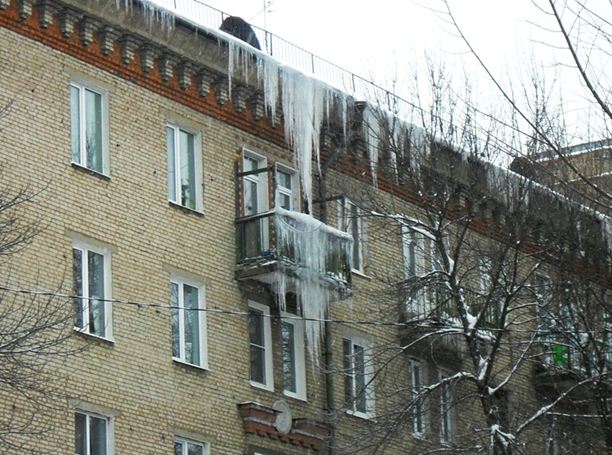
As a rule, the average urban balcony is small, and therefore the load on the visor is expected to be insignificant. This gives some freedom in terms of choosing the shape of the structure and the materials of the support frame and roof.
There are canopies of such varieties:
- single slope straight. The least effective design in terms of protection against precipitation, since the lack of a slope leads to the fact that snow accumulates on it, icicles and ice appear, and during heavy rain, water does not have time to drain and can leak inside;
- Single slope. Such structures performed much better from an operational point of view: the slope allows snow and water to slide freely from the surface, which reduces the load on the structure and the likelihood of leaks. It should also be noted the ease of assembly of an inclined single-sided visor;
- Arched. The roof plane has a curved shape and describes an arc of a circle, ellipse, parabola or other figure. Such models are not only effective, but also beautiful, but they are more difficult to manufacture, since it is necessary to bend the rafters, which is not easy to do at home;
- Dome or tent. They look spectacular in a number of architectural styles, but are difficult to manufacture and install;
- gable. Rarely used, they are distinguished by increased efficiency, especially in terms of resisting loads from wind and precipitation. They have a more complex rafter system and roofing.
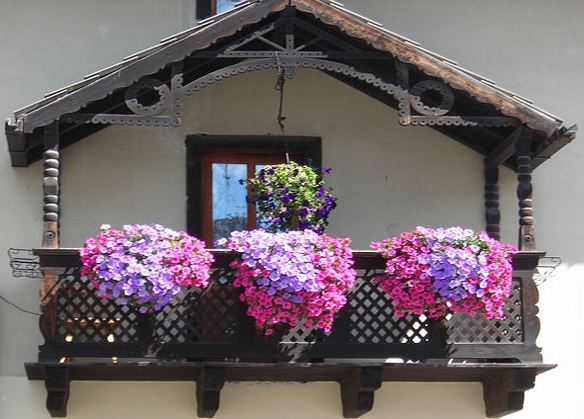
Important! For self-manufacturing and installation, a single-sided inclined design with a flat slope is best suited.
materials
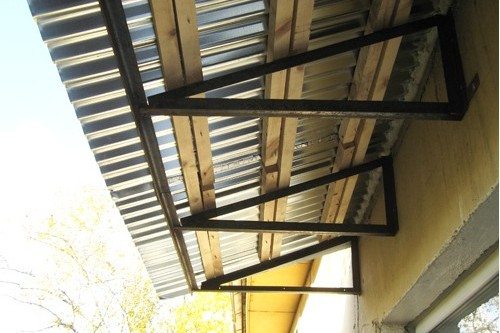
The choice of materials is a very important part of the preparation. The canopy consists of two structural parts - a supporting structure and a roof.
Important! The best material for assembling the base frame is steel. In the conditions of cities, materials are subject to serious influence of various destructive factors, so the material of choice is rolled steel or aluminum alloy.
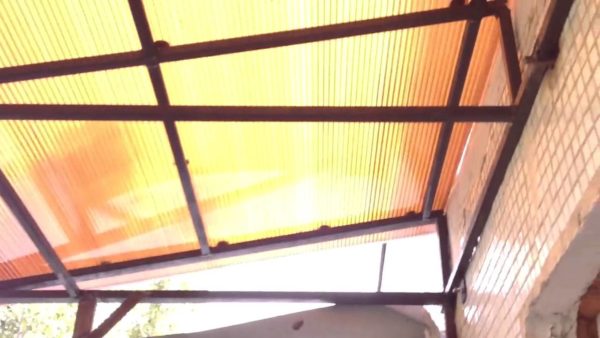
Wooden poles can also be used, but only after proper processing and only of high quality. Most often, closed structures are made of wood when glazing a balcony, since then the material is protected and located indoors.
The roofing material can be any of the available:
- slate,
- profiled sheet,
- galvanized,
- plastic,
- ondulin,
- bituminous or metal tiles, etc.
It is best to use either the same material as on the main roof of the building, or transparent plastic such as polycarbonate.
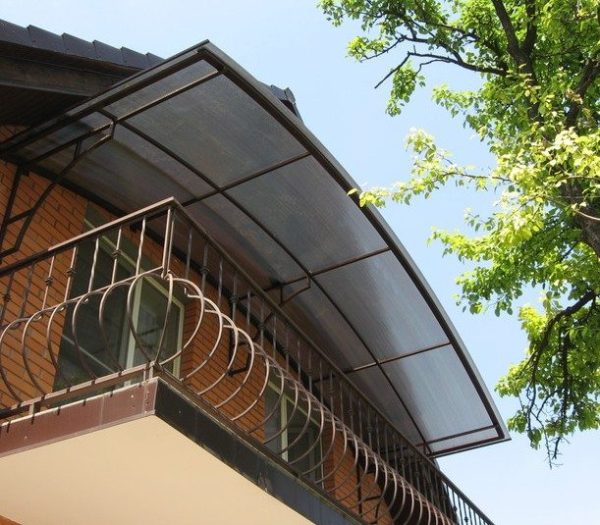
Important! If your home is slate, but you don't want to use a potentially hazardous material, plastic or metal slate can be used.
Installation
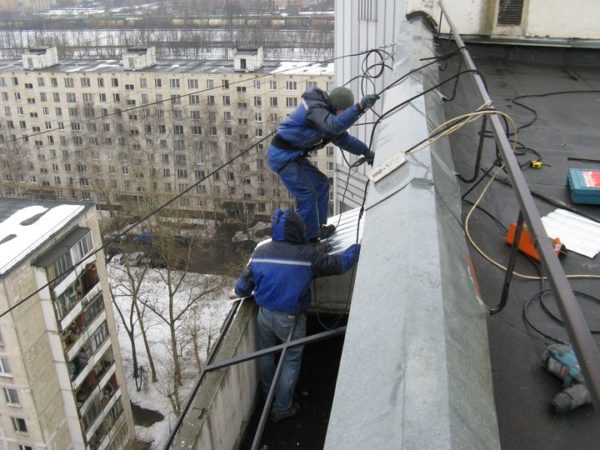
If you want to make a polycarbonate canopy over the balcony with your own hands, our step-by-step guide will help you:
- We make a drawing. The shed sloping canopy has a simple structure, it is important to measure all distances correctly and take them into account when purchasing materials and assembling;
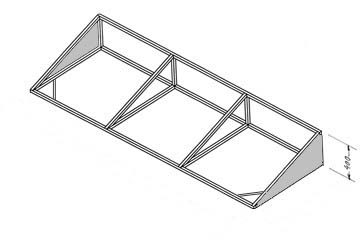
- We take a steel pipe with a square section of 35x35 mm or 50x50 mm and cut the segments according to the drawing;

- First, we assemble the lower frame for tacks, check the diagonals and corners (the diagonals must be equal, the corners must be all 90 degrees), then we weld the parts thoroughly;
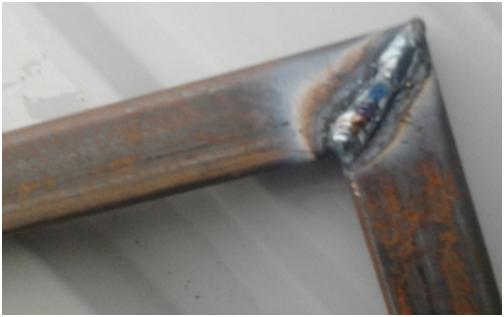
- We insert and weld the intermediate pipe sections inside the frame;
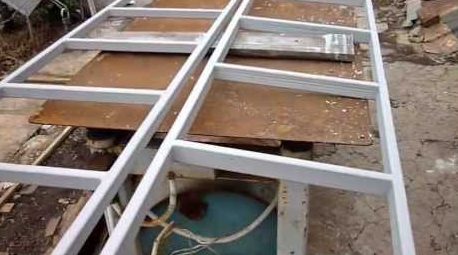
- Now we weld the shortest segments onto the tacks, set them strictly vertically and weld them tightly;

- We connect short segments with a long pipe using arc welding;
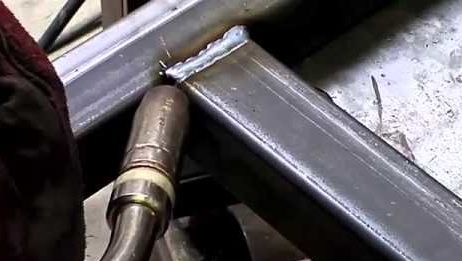
- We weld inclined rafters;
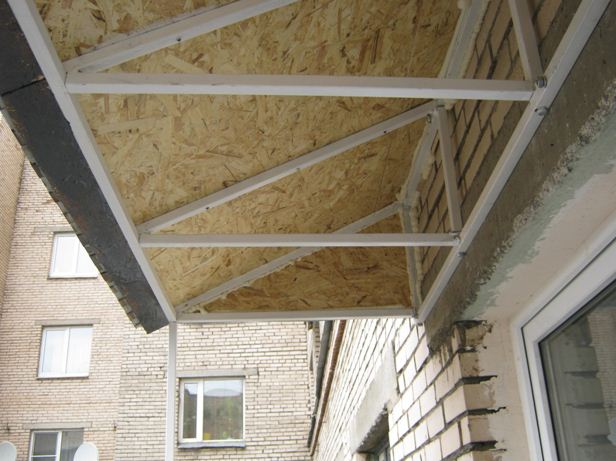
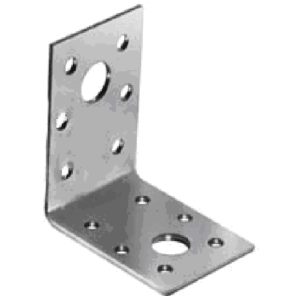
- Opposite each end of each of the shortest vertical pipe sections, we weld mounting ears cut from a corner or plate;
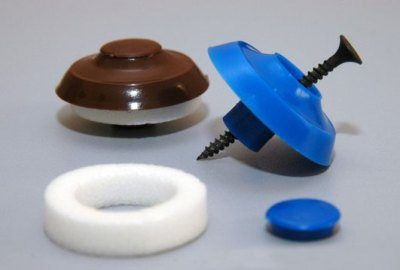
- We cut a sheet of polycarbonate to size and mount it on the rafters with self-tapping screws with a thermal washer;
- We put the structure in the mounting position and fix it with one anchor. Then we expose it with the help of the level as evenly as possible and fix it with the help of the second and other anchors. The side parts are sewn up with pieces of polycarbonate.
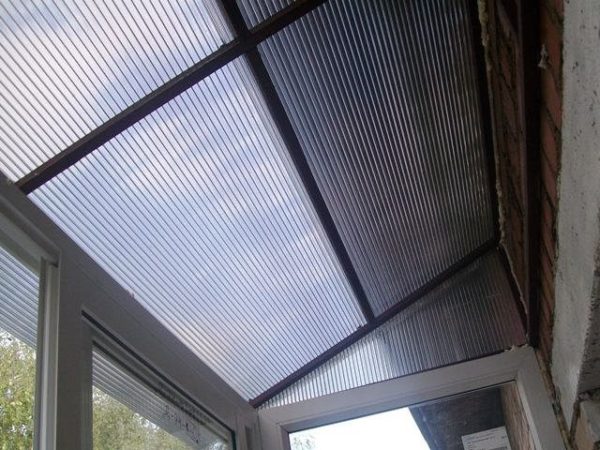
Important! Before laying the roofing material, all welds should be cleaned with a grinder and coated with primer enamel or anti-corrosion paint.
Conclusion
You can make a balcony canopy yourself at home. The video in this article illustrates in detail the process of assembling and installing the product.
Did the article help you?
